In this tutorial, we’ll show you how to create a new project, restrict a project, rename a project, and add a user group to a project.
Create a new project
Step 1: Head to the Project Menu. Click on + Project and enter a project name. Click Save. The new project created will be displayed in the project list. 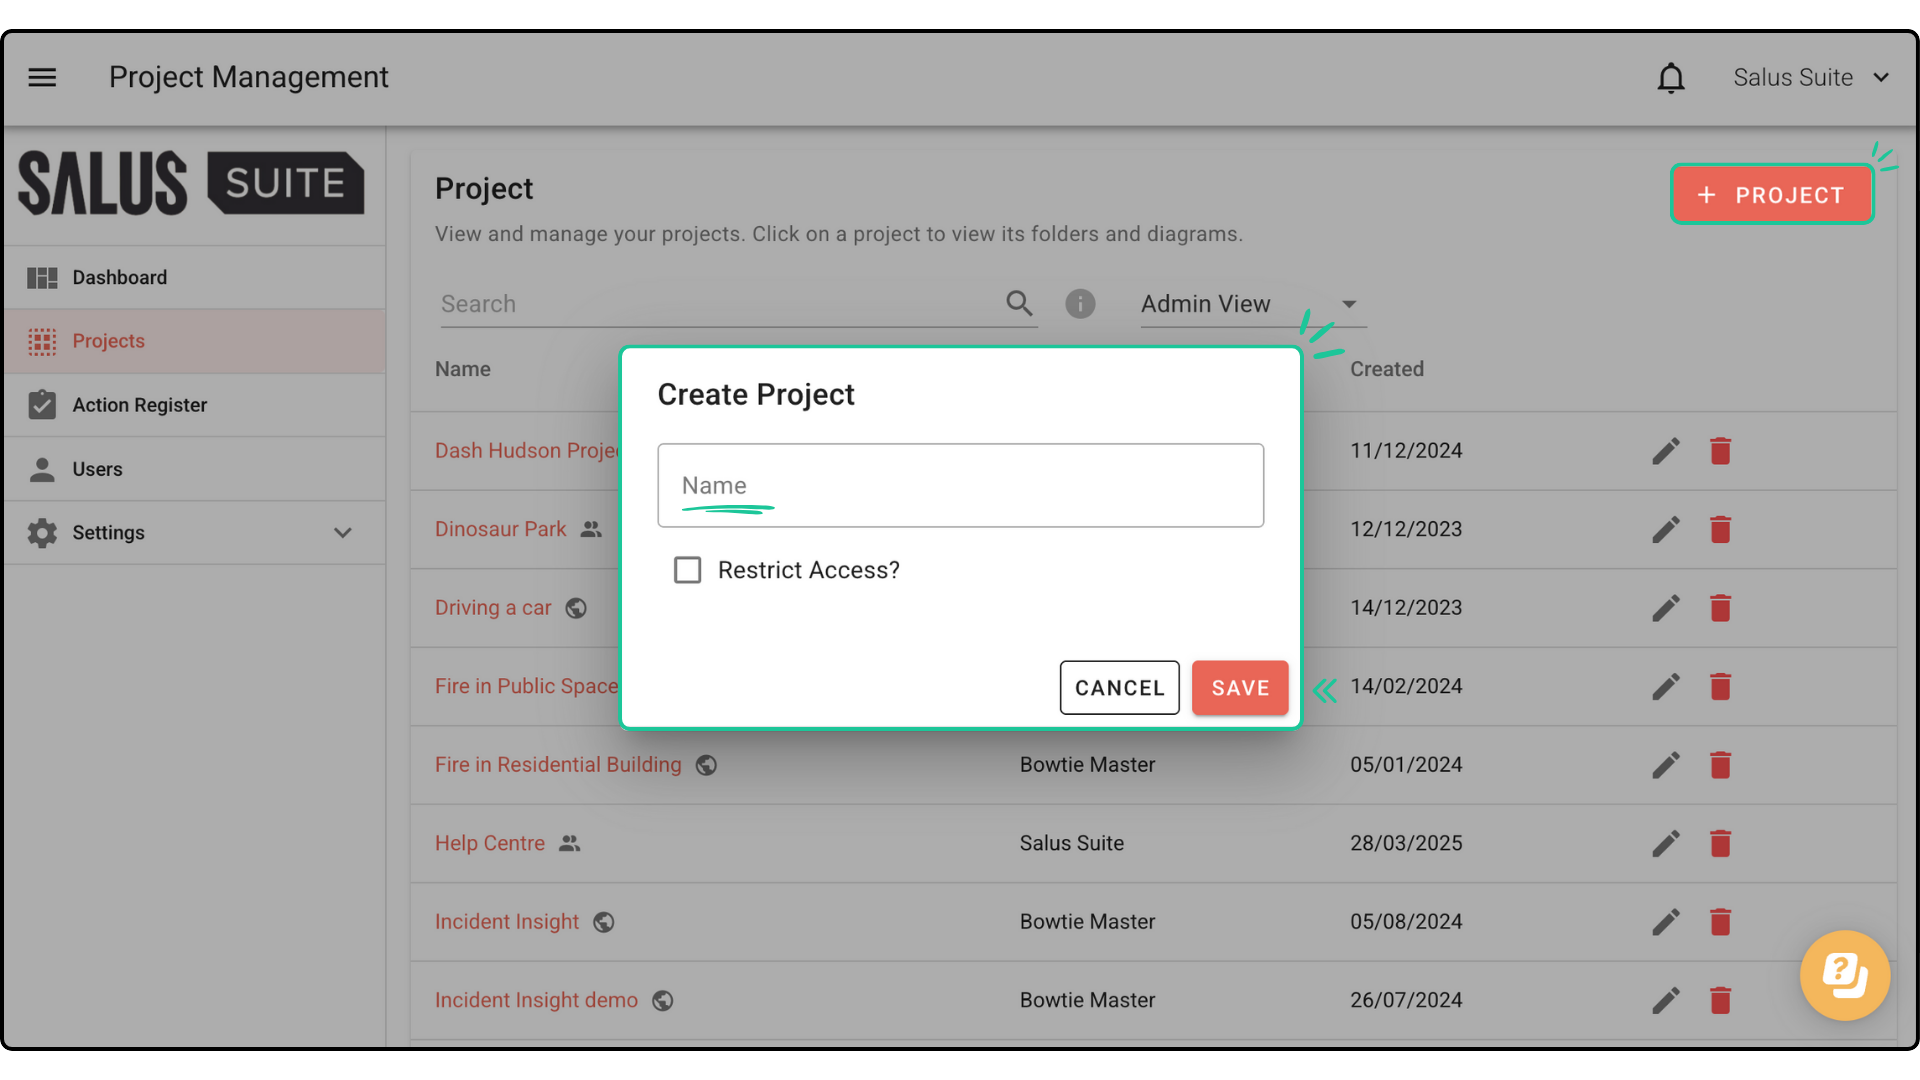
Rename a project
Step 1: Head to the Project Menu. Click on the Edit icon beside the project you wish to rename. 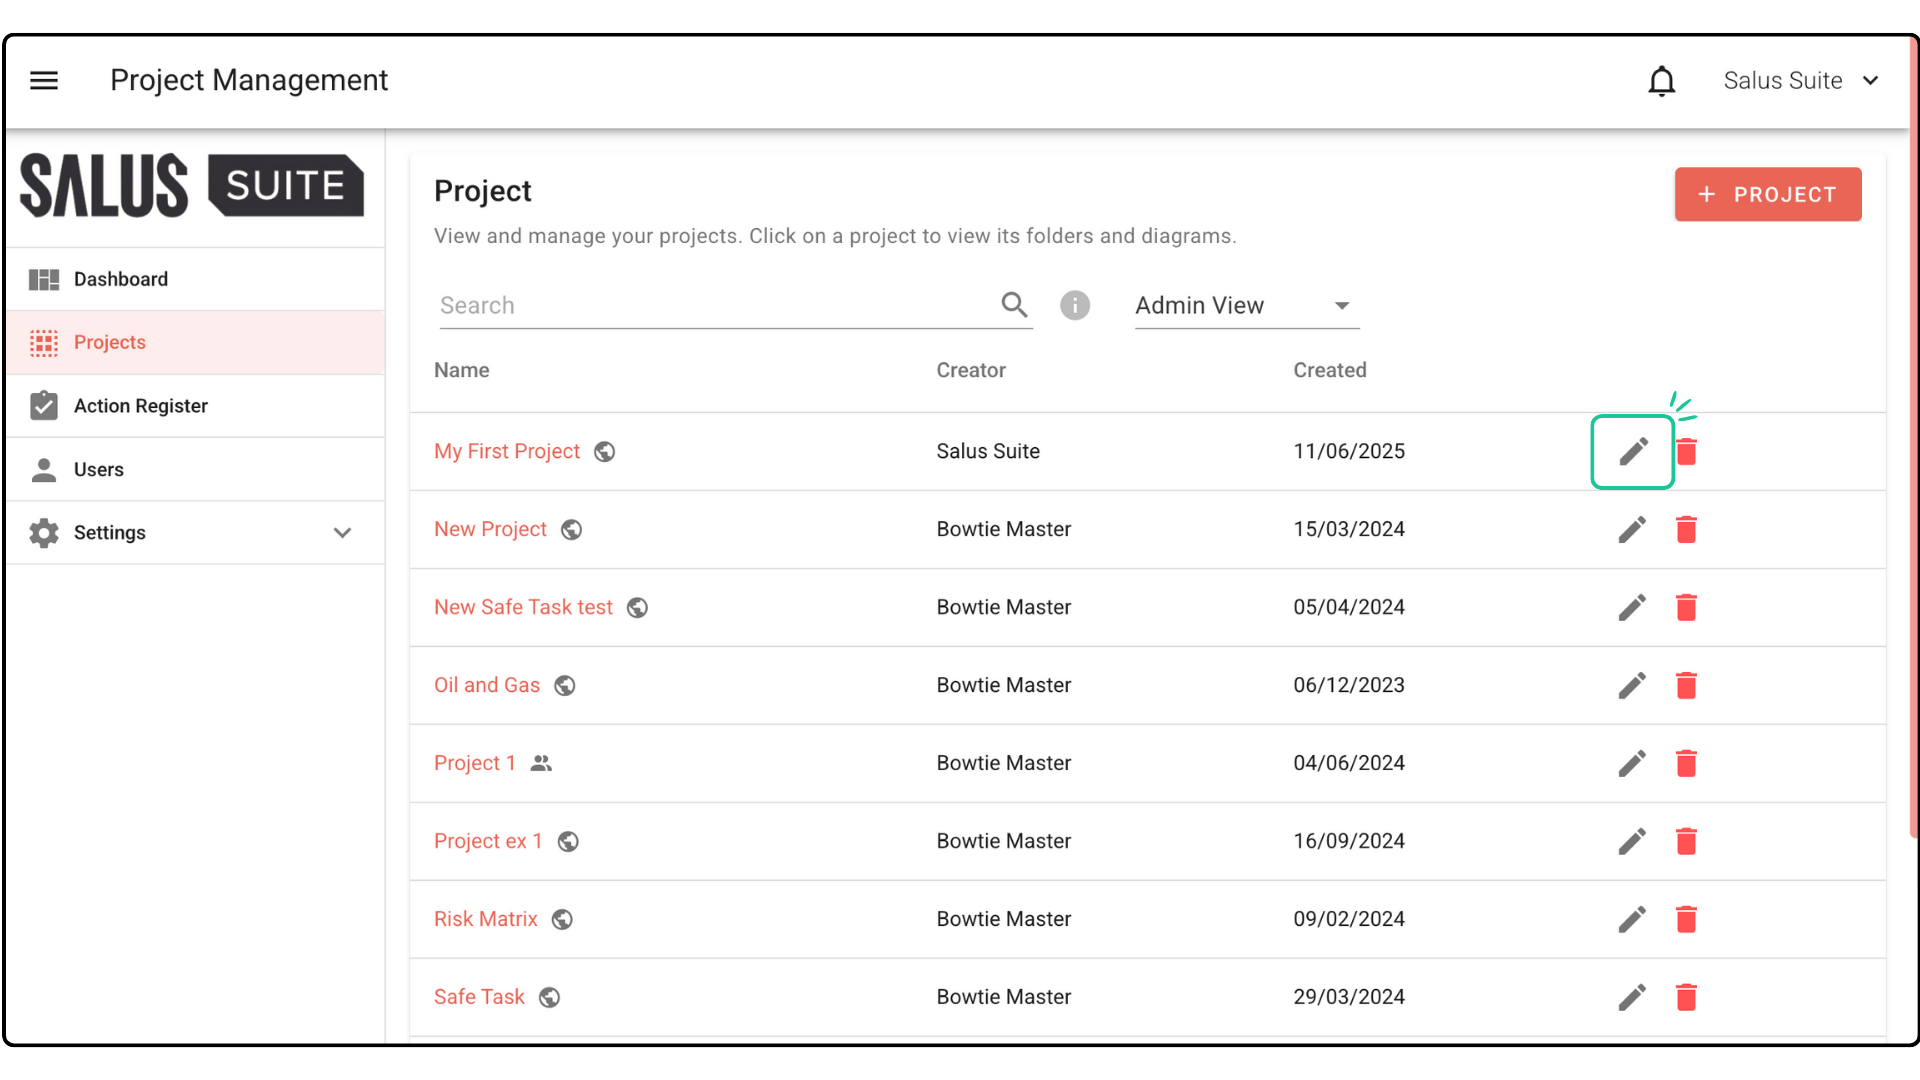
Step 2: In the pop-up, rename the project. Click Save. 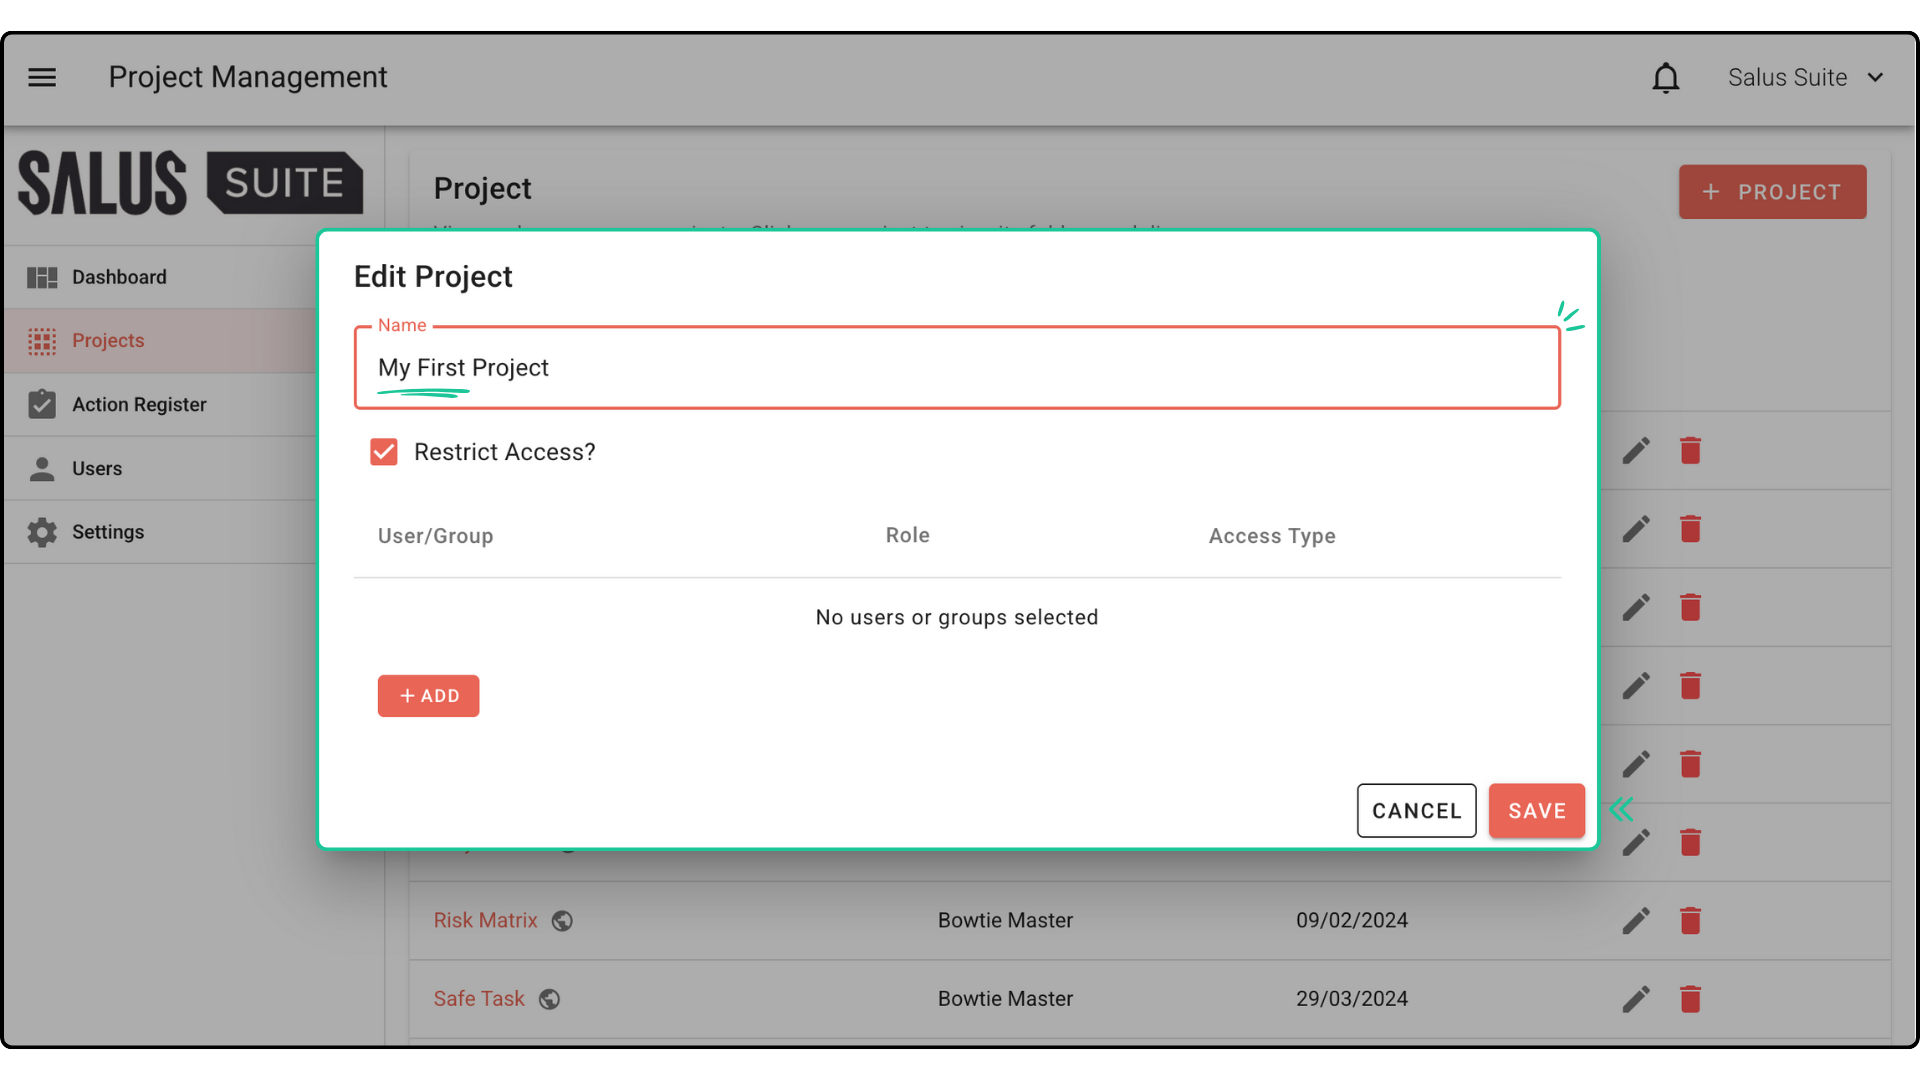
Restrict a project
Step 1: Click Edit Project beside the project you wish to restrict. Tick Restrict Access. 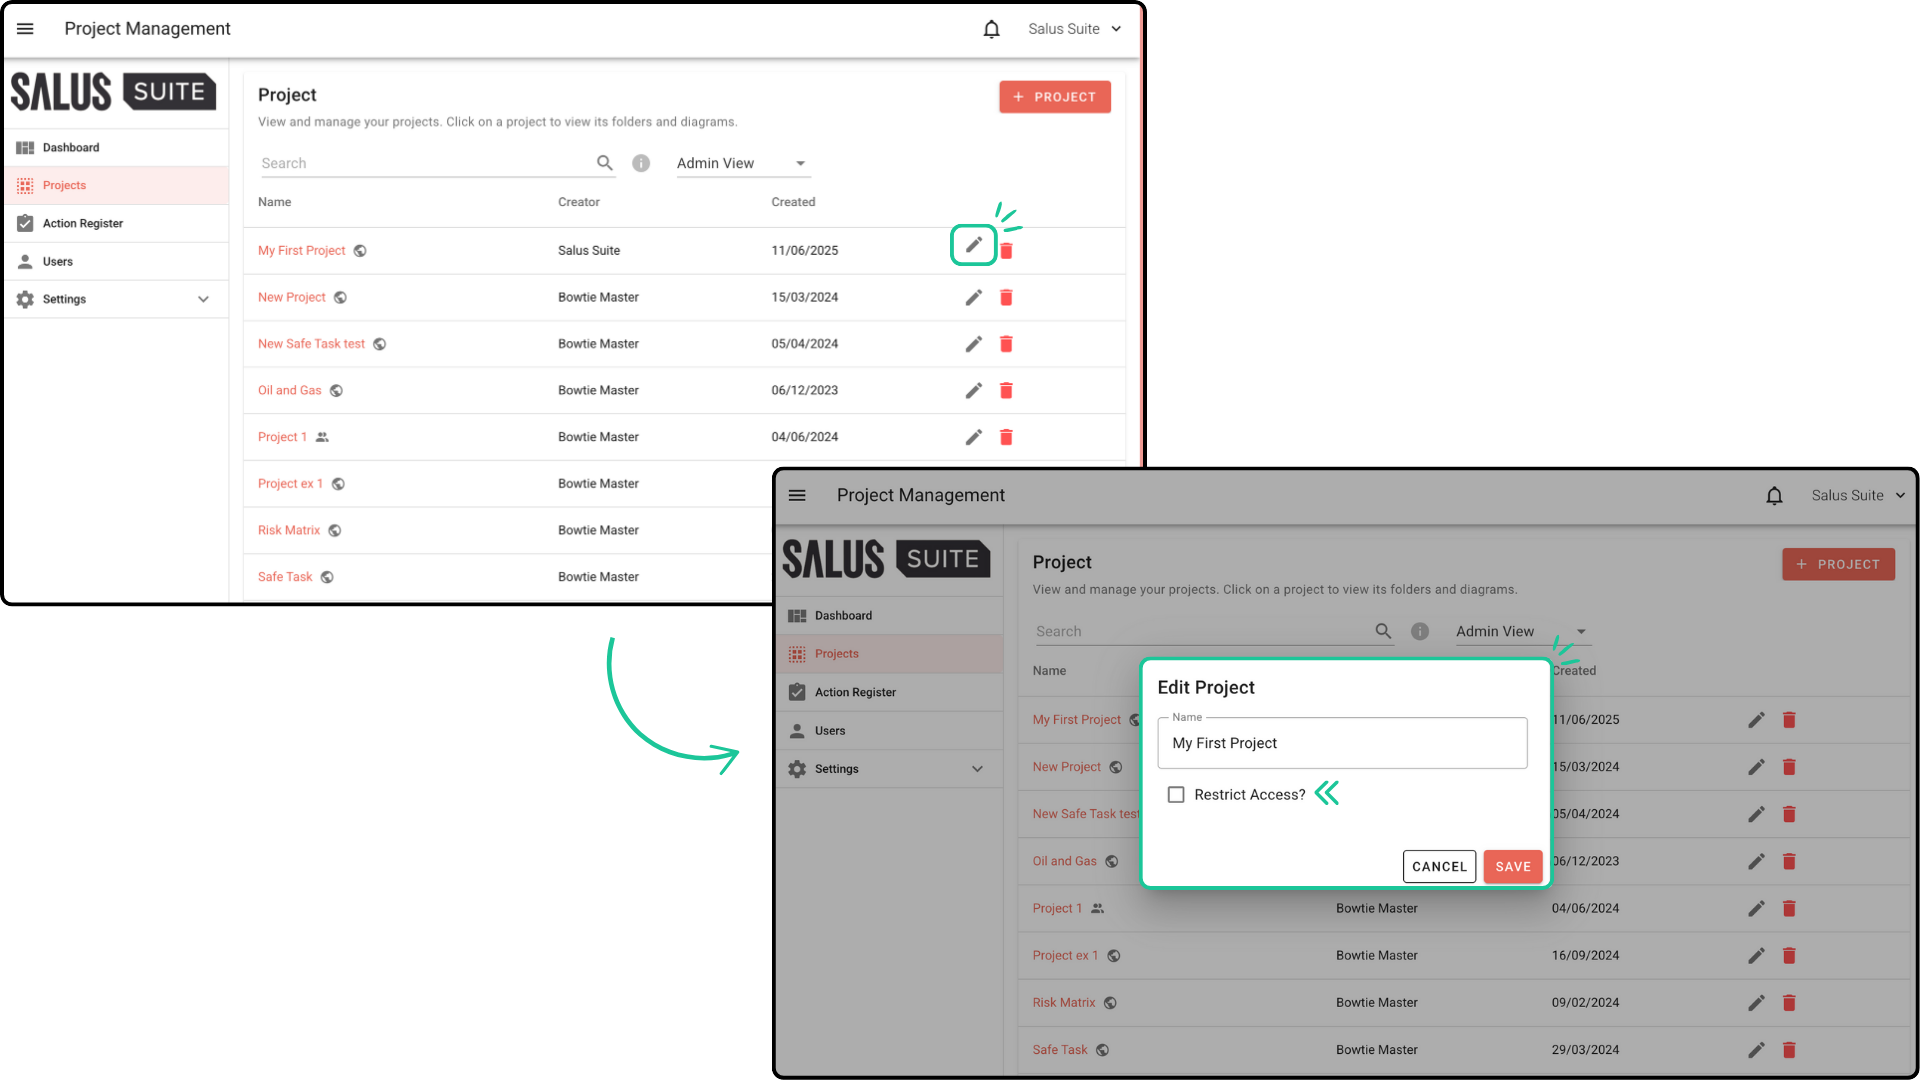
Step 2: Click Add. 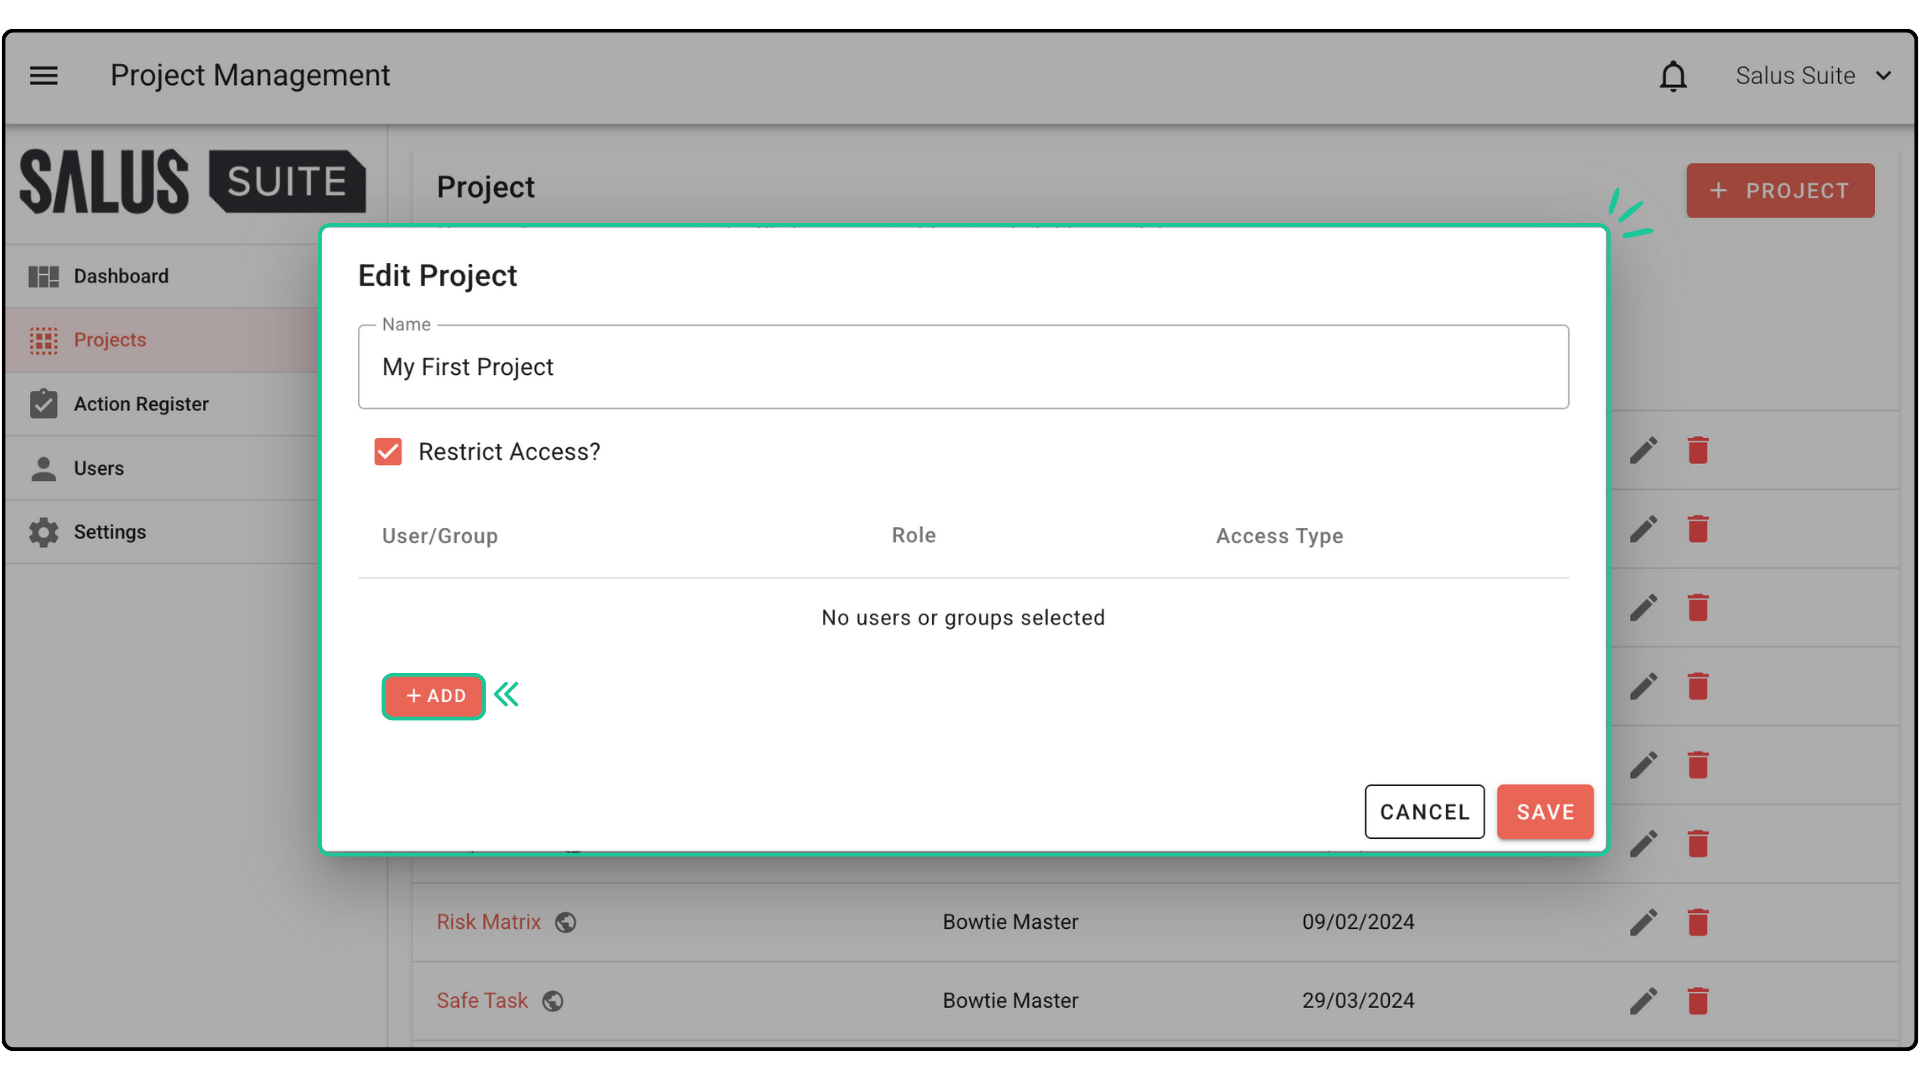
Step 3: In the Select Users window pop-up, select the Users and/or Group/s you wish to restrict the project to. Click Add #. 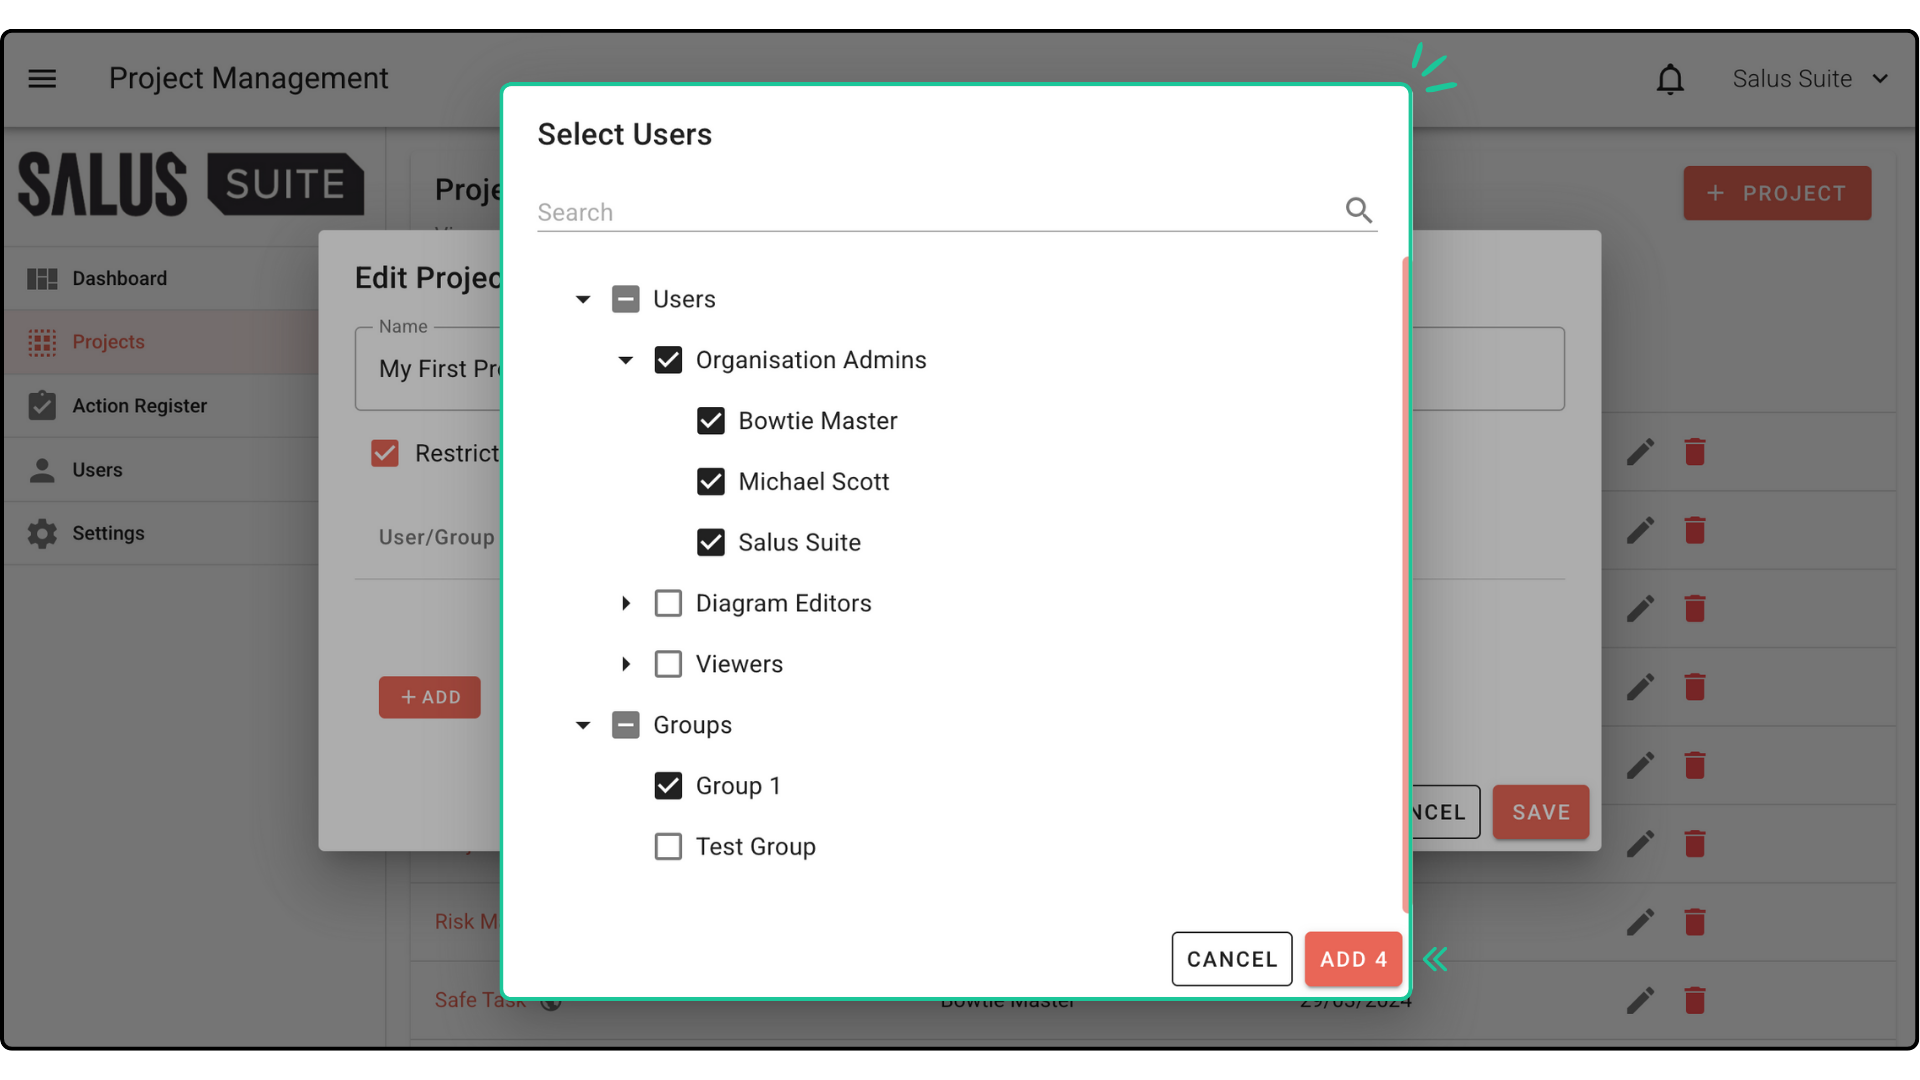
Step 4: The group will appear in the selected project. Click Save. A user who has restricted access to a project will be able to see or access the project. 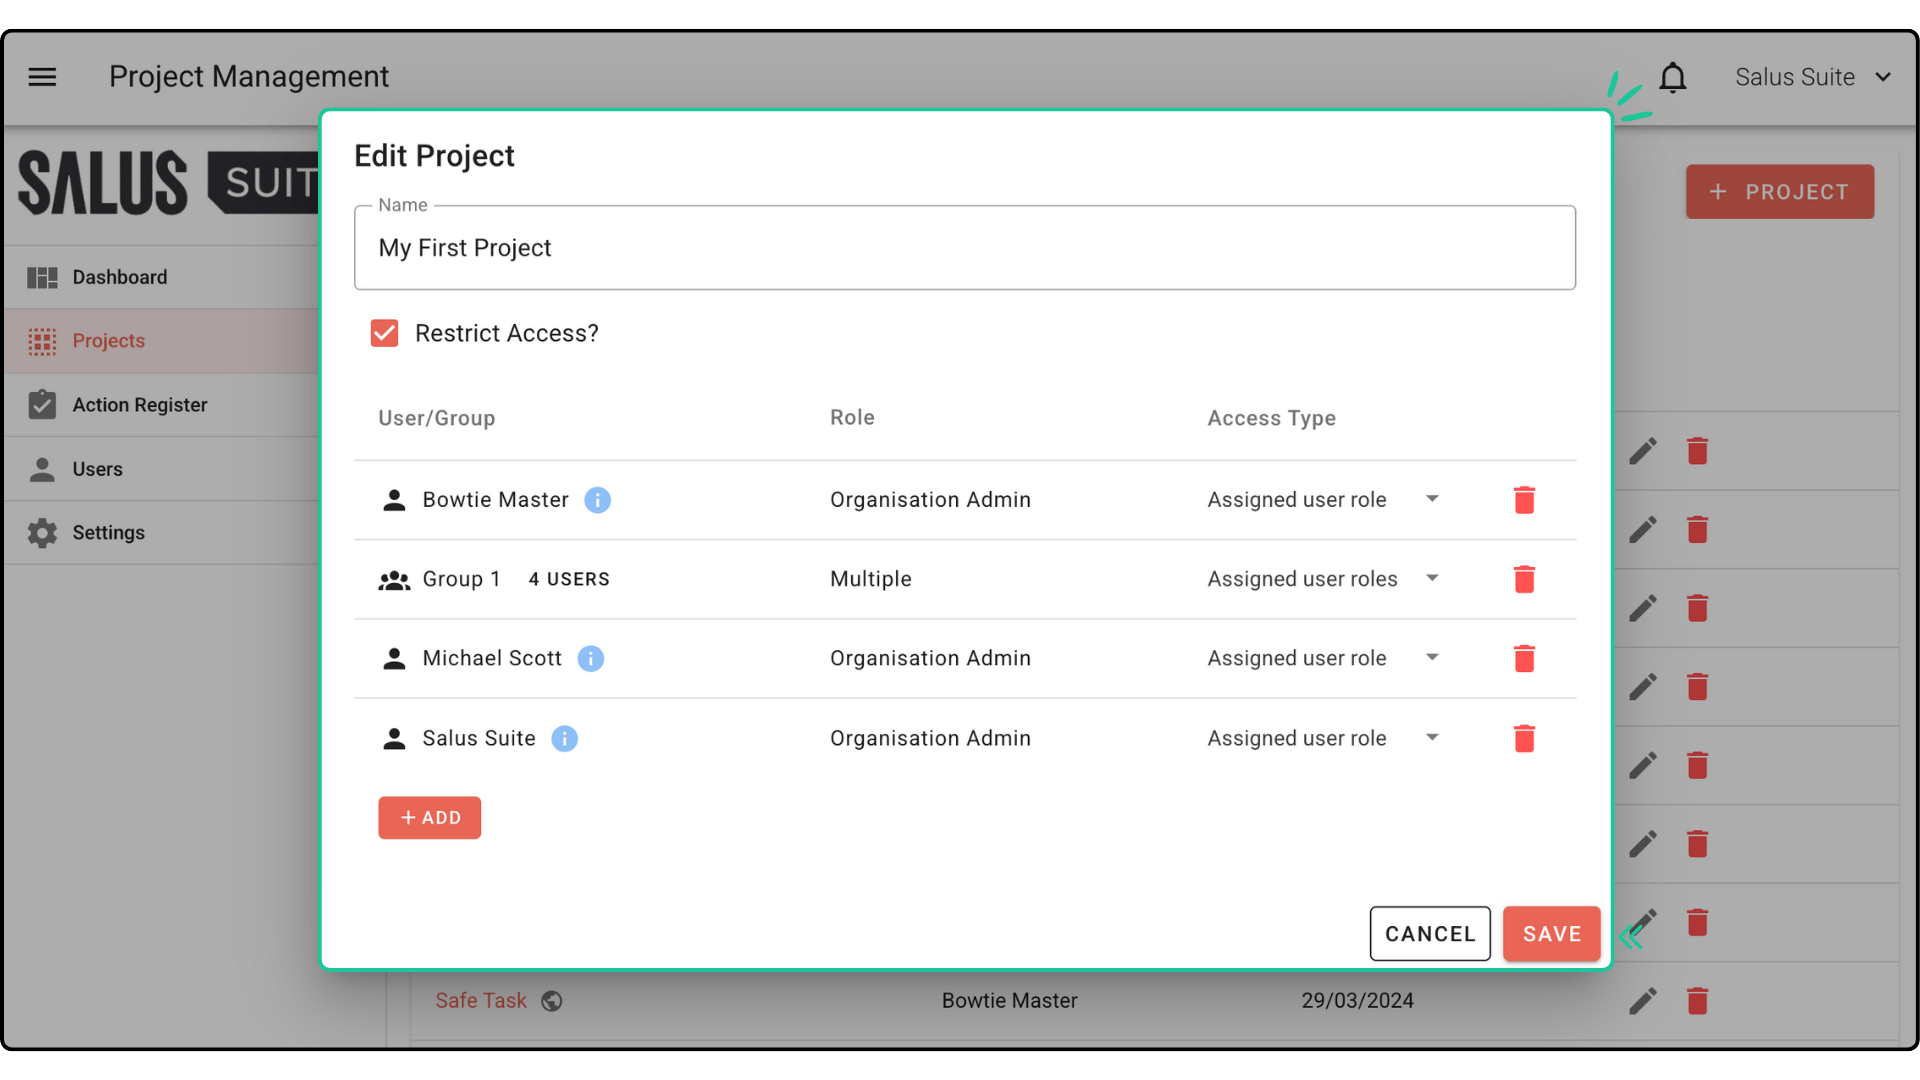
For a more in-depth tutorial on User Groups and restricting access, check this guide.


