Effortlessly assign, track, and manage tasks with the Action Register. This feature enables you to assign actions to team members, set priorities, and monitor progress, ensuring accountability and streamlined collaboration within your projects.
Creating new actions
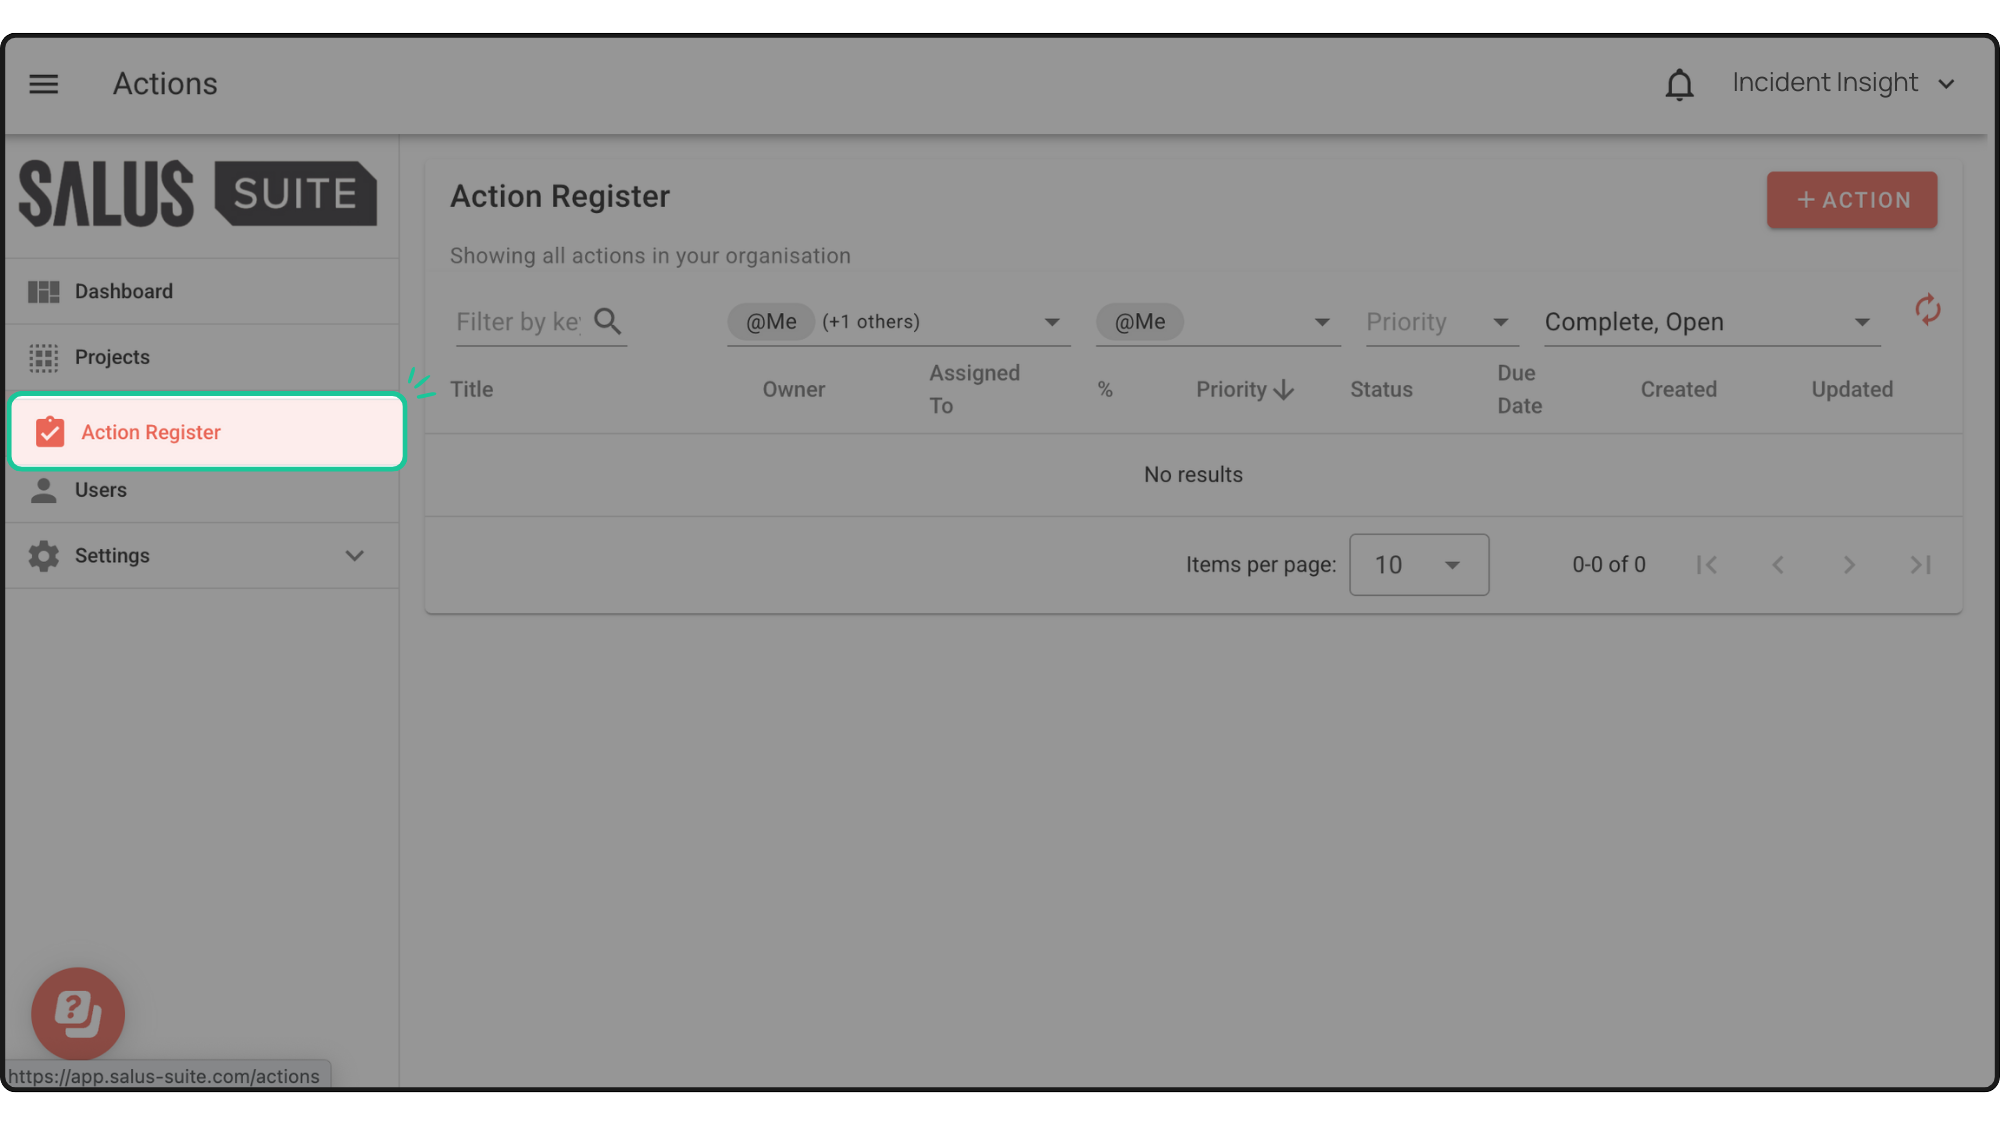
Step 1: In your Dashboard, head to the Actions Register Menu on the left-hand side.
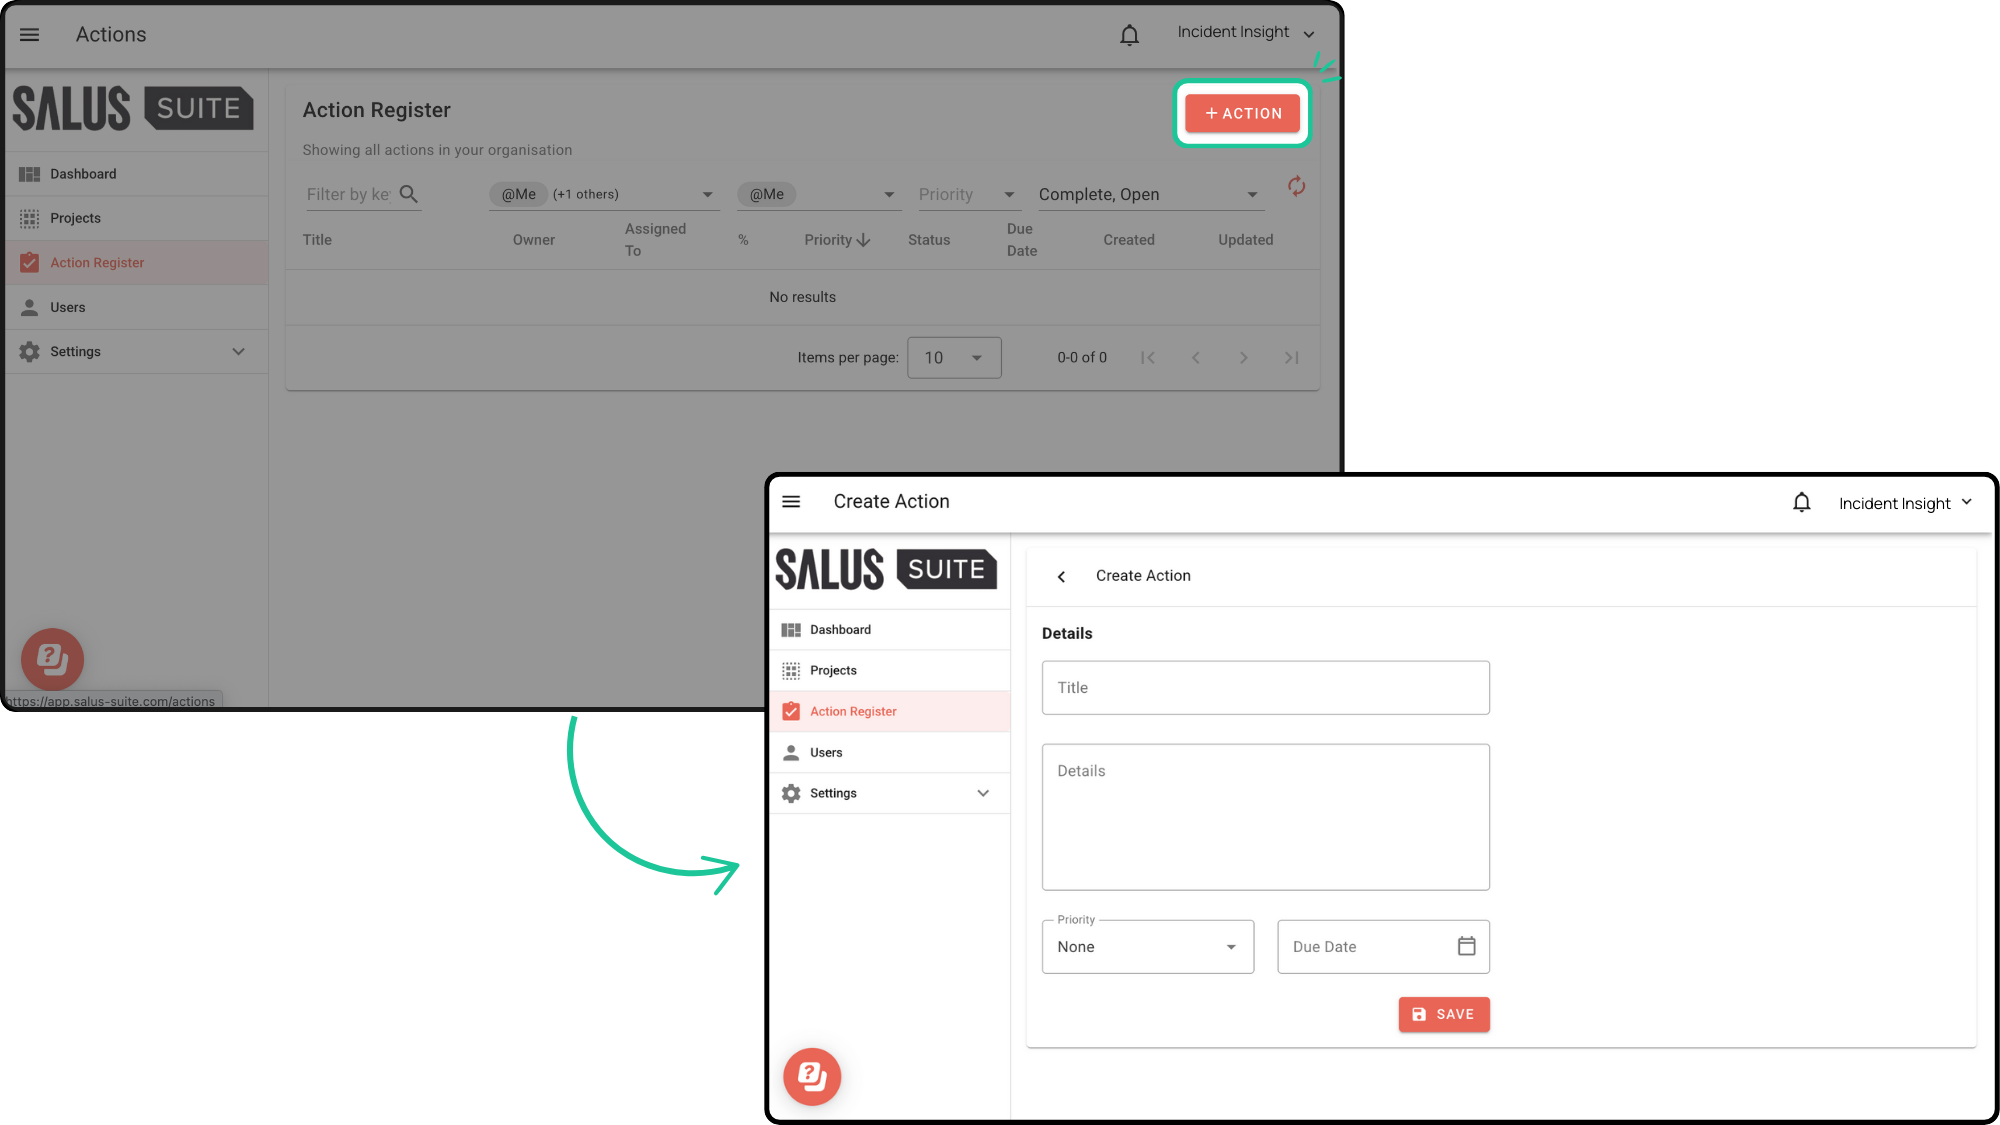
Step 2: Click on the ‘+Action’ button in the upper right corner of the dashboard. A new window will appear where you can enter details of your Action, such as the Title, Details, and Due Date. You can also assign a priority level. Click ‘Save’.
Add the Title and Details of your action.
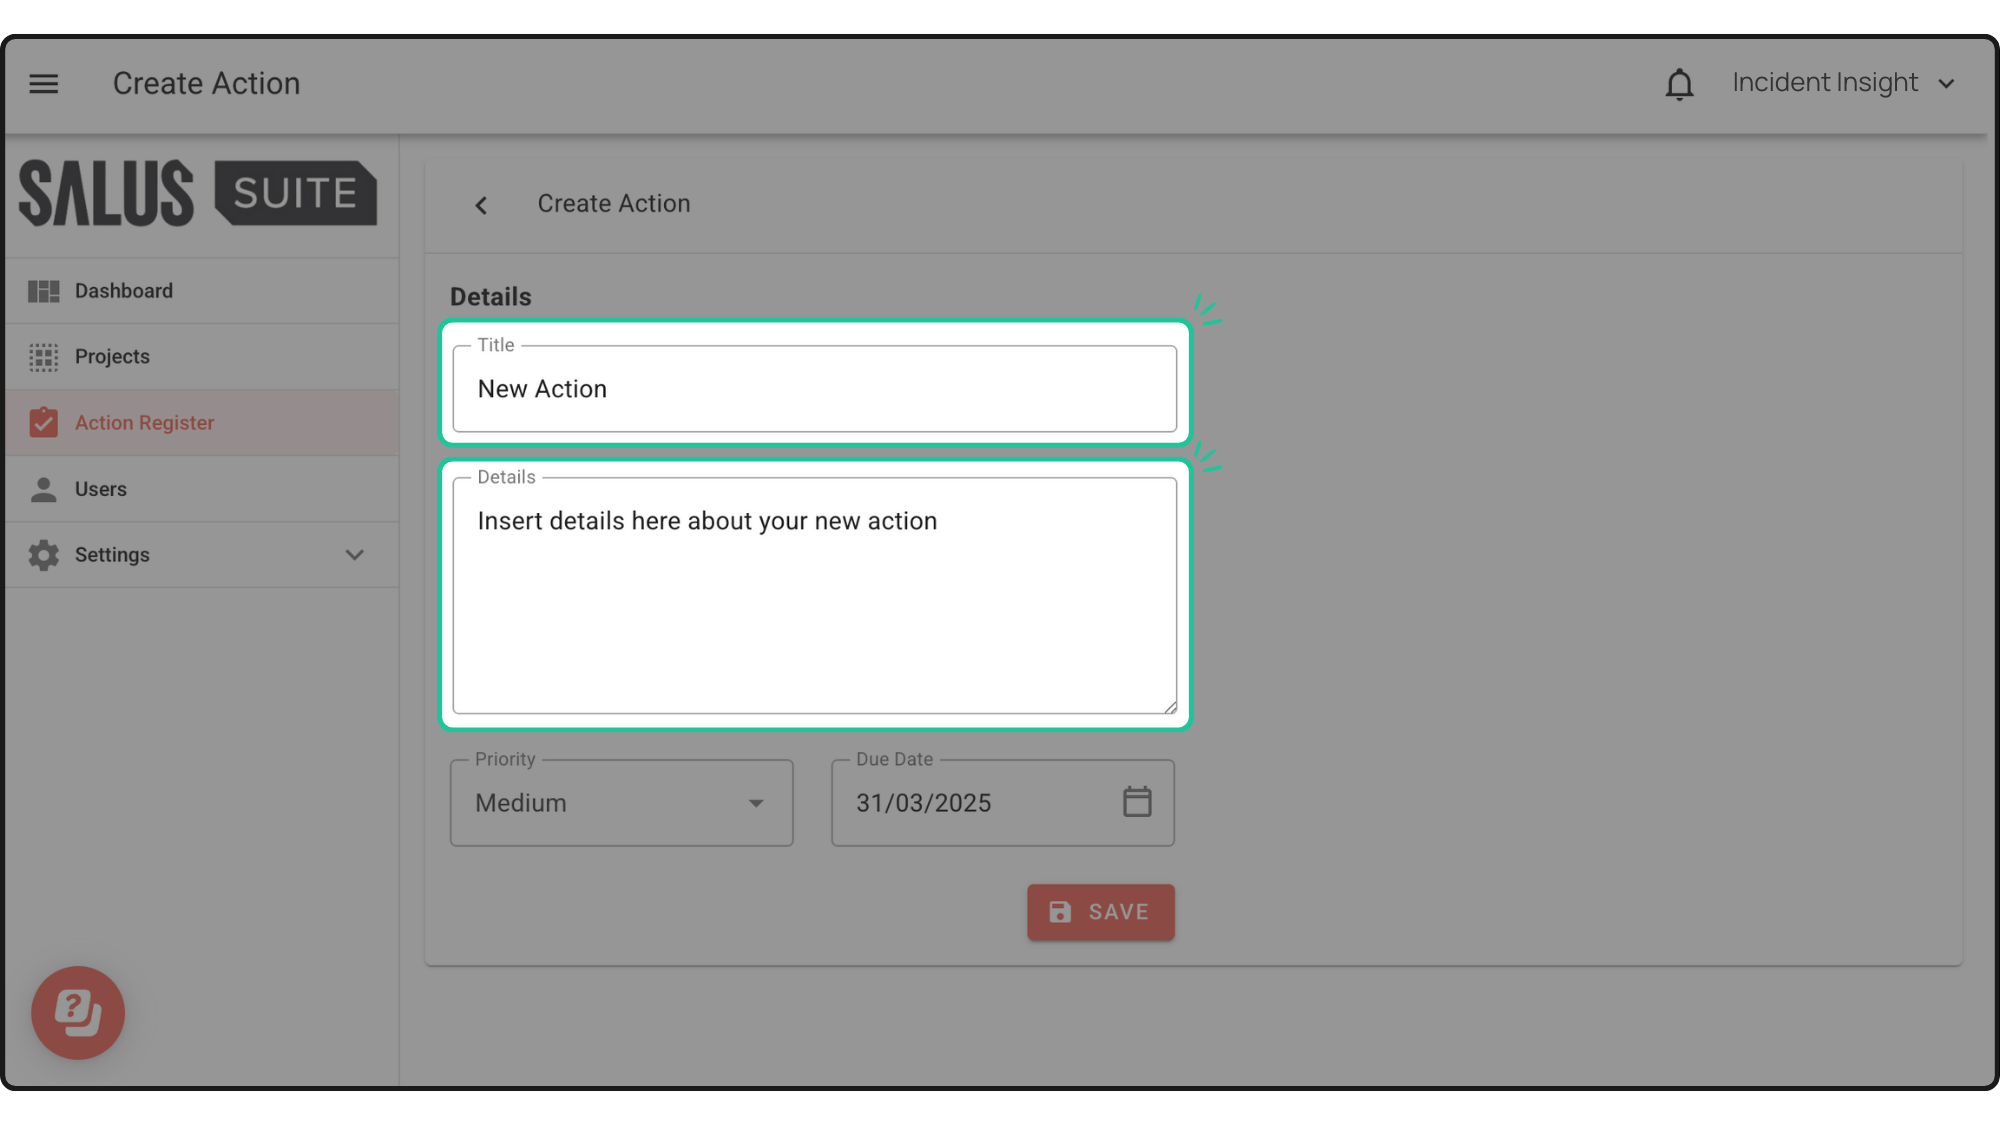
Add a Priority Level, if there is any.
Add a Due Date (optional).


Then click Save.

This is how your new action should look like:

To create actions within a diagram, visit this page.
Adding assignees
Step 1: Go to your existing action or create a new one. Click on ‘+Add Assignee’.

Step 2: In the pop-up, toggle the Assignees and select the User/s you wish to assign the action to. Click ‘Assign’. New assignees will be notified immediately.

This is how your action will look like after adding an assignee:
Getting assigned an action
When you’re assigned an action in Incident Insight, you’ll receive an instant notification via email and the Salus Suite app.
To view and manage your assigned actions via the software, follow these steps:
Step 1: In the Actions Register Menu, click on the Notification Bell icon.
Step 2: From the notifications list, select the Action you want to view.

You can edit the action that has been assigned to you. You can update the title, details, priority, due date, and mark its progress.
Tracking the progress of actions
Incident Insight allows you to track the progress of actions in two ways: by adding a percentage or marking them as complete or incomplete.
To add a percentage, use the ‘% Complete’ slider below the progress bar to indicate the action’s progress. Note that you can only do this if you haven’t assigned any users to the action.

This is how it will look. Notice that the progress bar beside Edit Action will also update.

To mark an action as complete, click on the ‘Mark as Complete’ button beside the Assignee. In the pop-up, you can add notes. Click ‘Mark as Complete’. Your assignee’s action will be marked as completed.


To revert an action to an incomplete status, click the ‘Mark as Incomplete’ button beside the Assignee field. 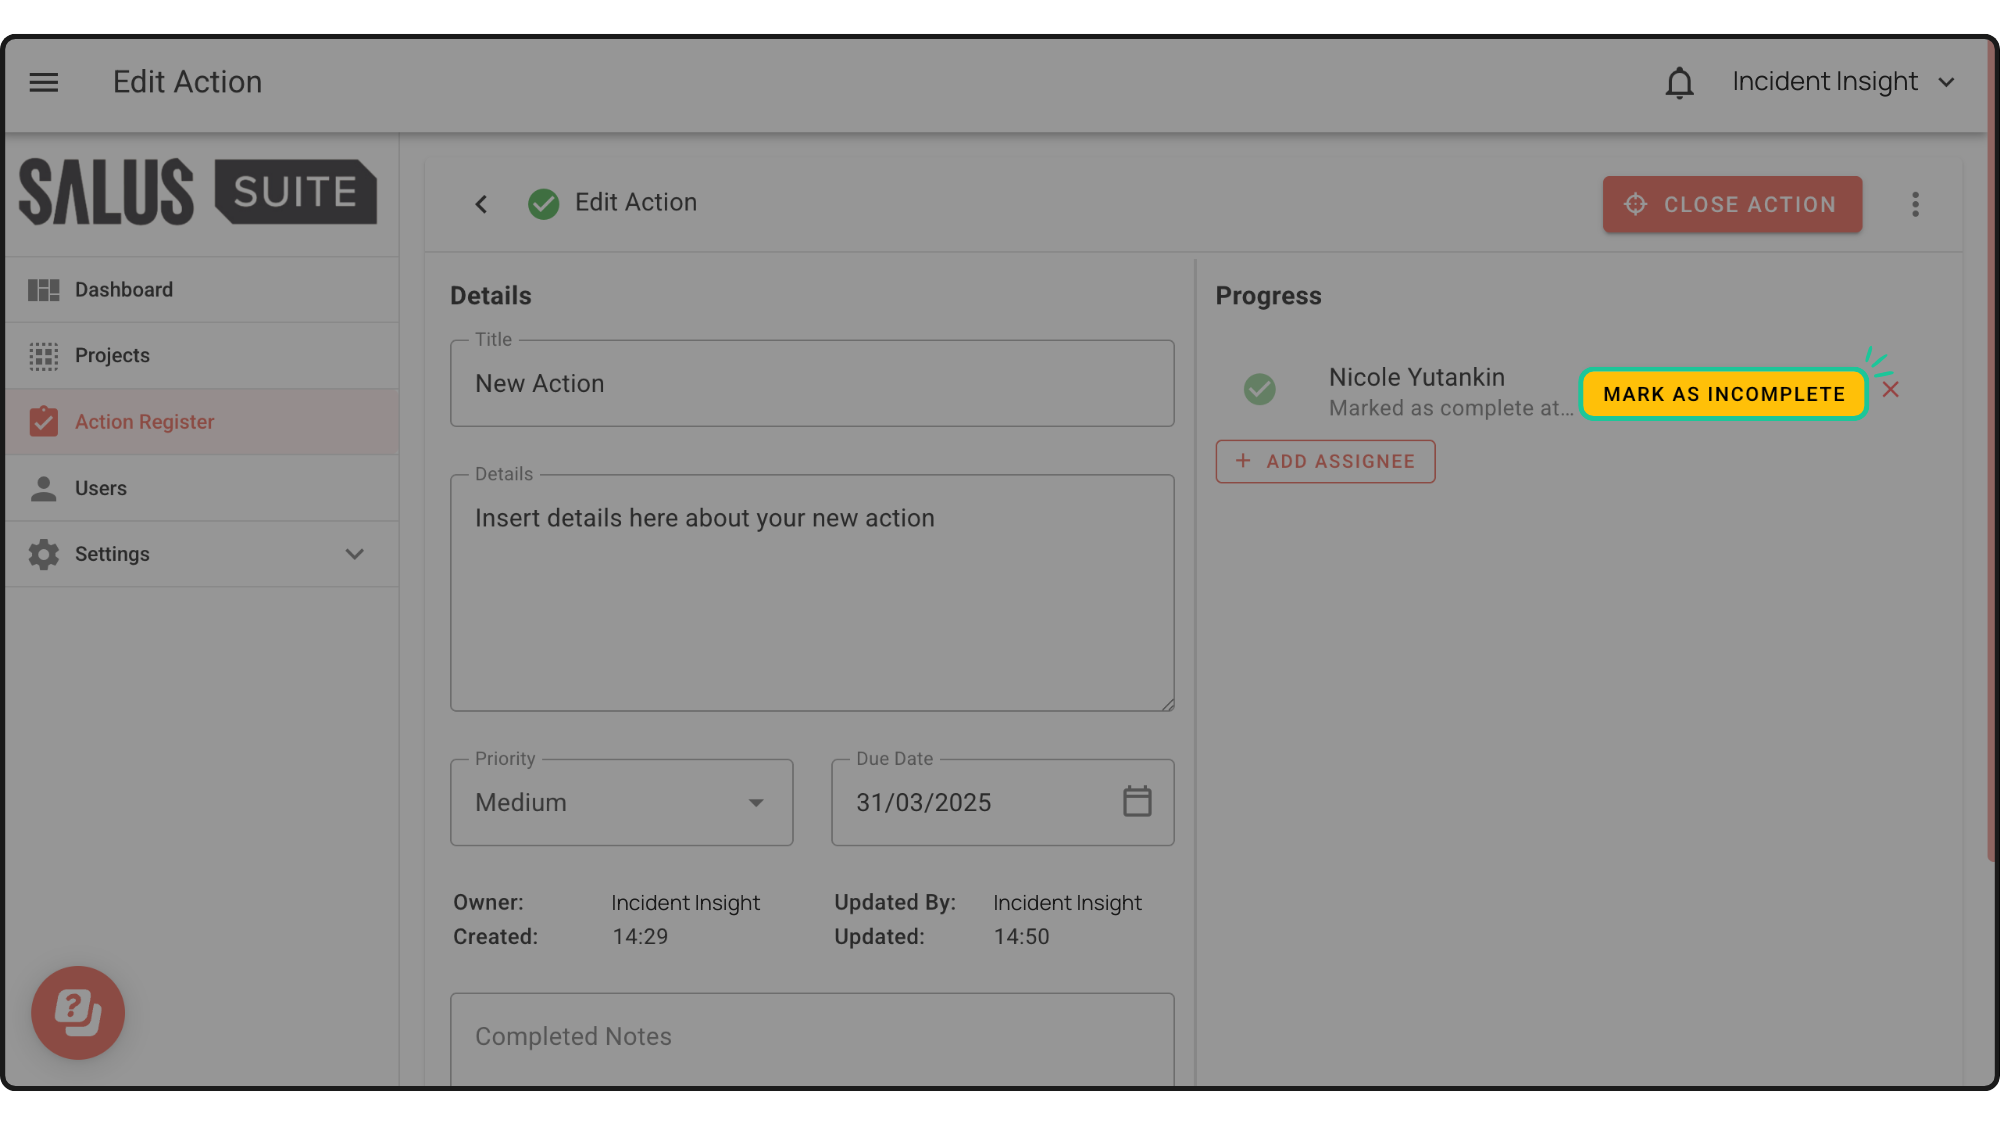
Closing and reopening an action
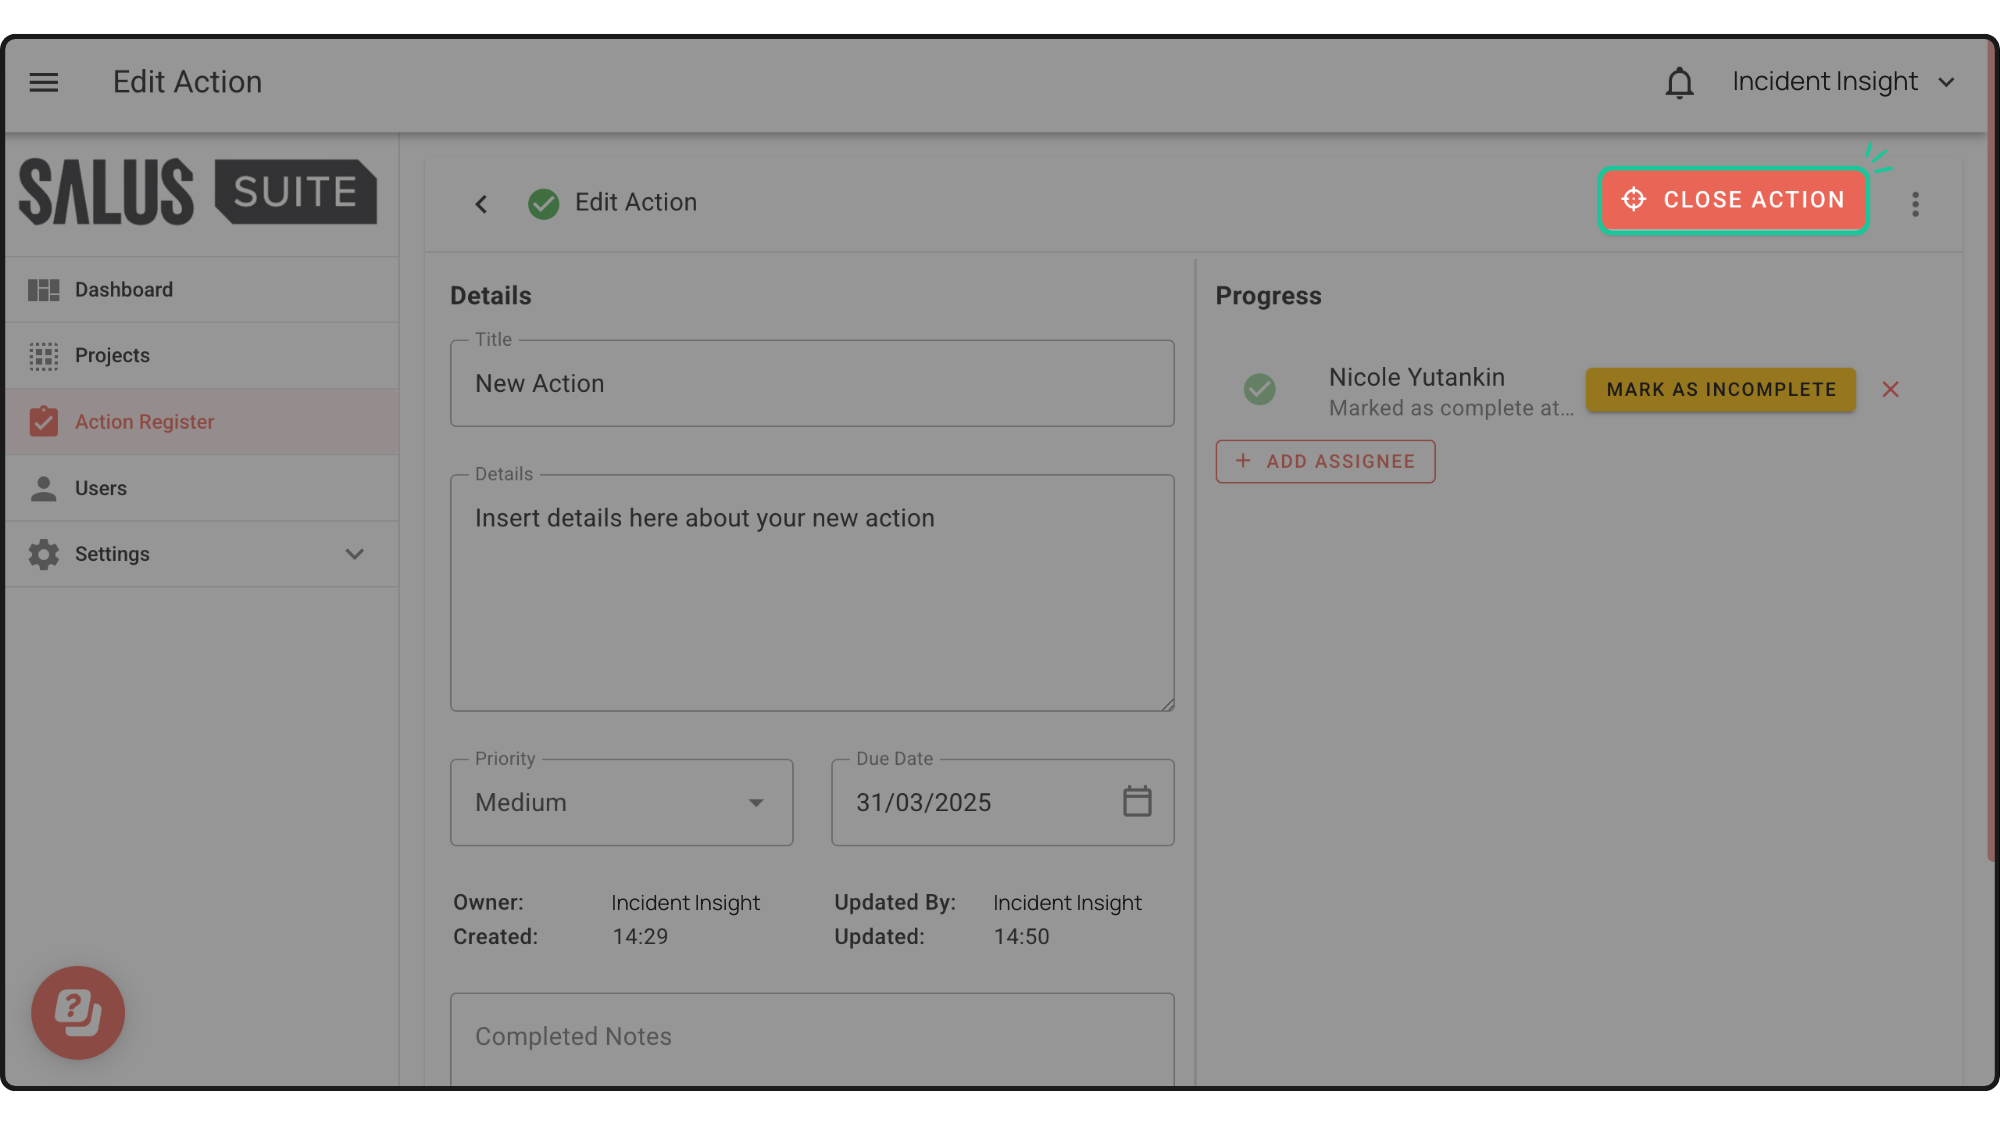
To close an action, click the ‘Close Action’ button in the upper right corner of the Action. This will close the action.
To reopen an action, click the ‘Reopen’ button in the upper right corner of the Action. The action will be reopened and can be updated as needed. 
Linking actions in projects
Seamlessly connect actions in both new and existing projects. This feature ensures that your diagrams remain actionable, helping you track and address tasks directly within the context of your project workflows.
Step 1: Create a new project and diagram or open an existing one.
Step 2: In your diagram, click on an element. In the pop-up, click on ‘Actions’.

Step 3: In the Actions pop-up, click on the ‘Link’ button. A new ‘Link Existing Actions’ window will appear. Select the action/s you wish to link to the element and click ‘Save’.


Step 4: In your Actions pop-up, the new action you linked will appear. Click ‘Close’ to exit.

To view the Action you have linked, click on the ‘Arrow’ icon beside the action in the Actions pop-up. A new window will open showing the linked action through the Action Register menu. At the bottom of this window, you’ll see the project where the action is linked. Clicking the project name will take you back to the diagram.

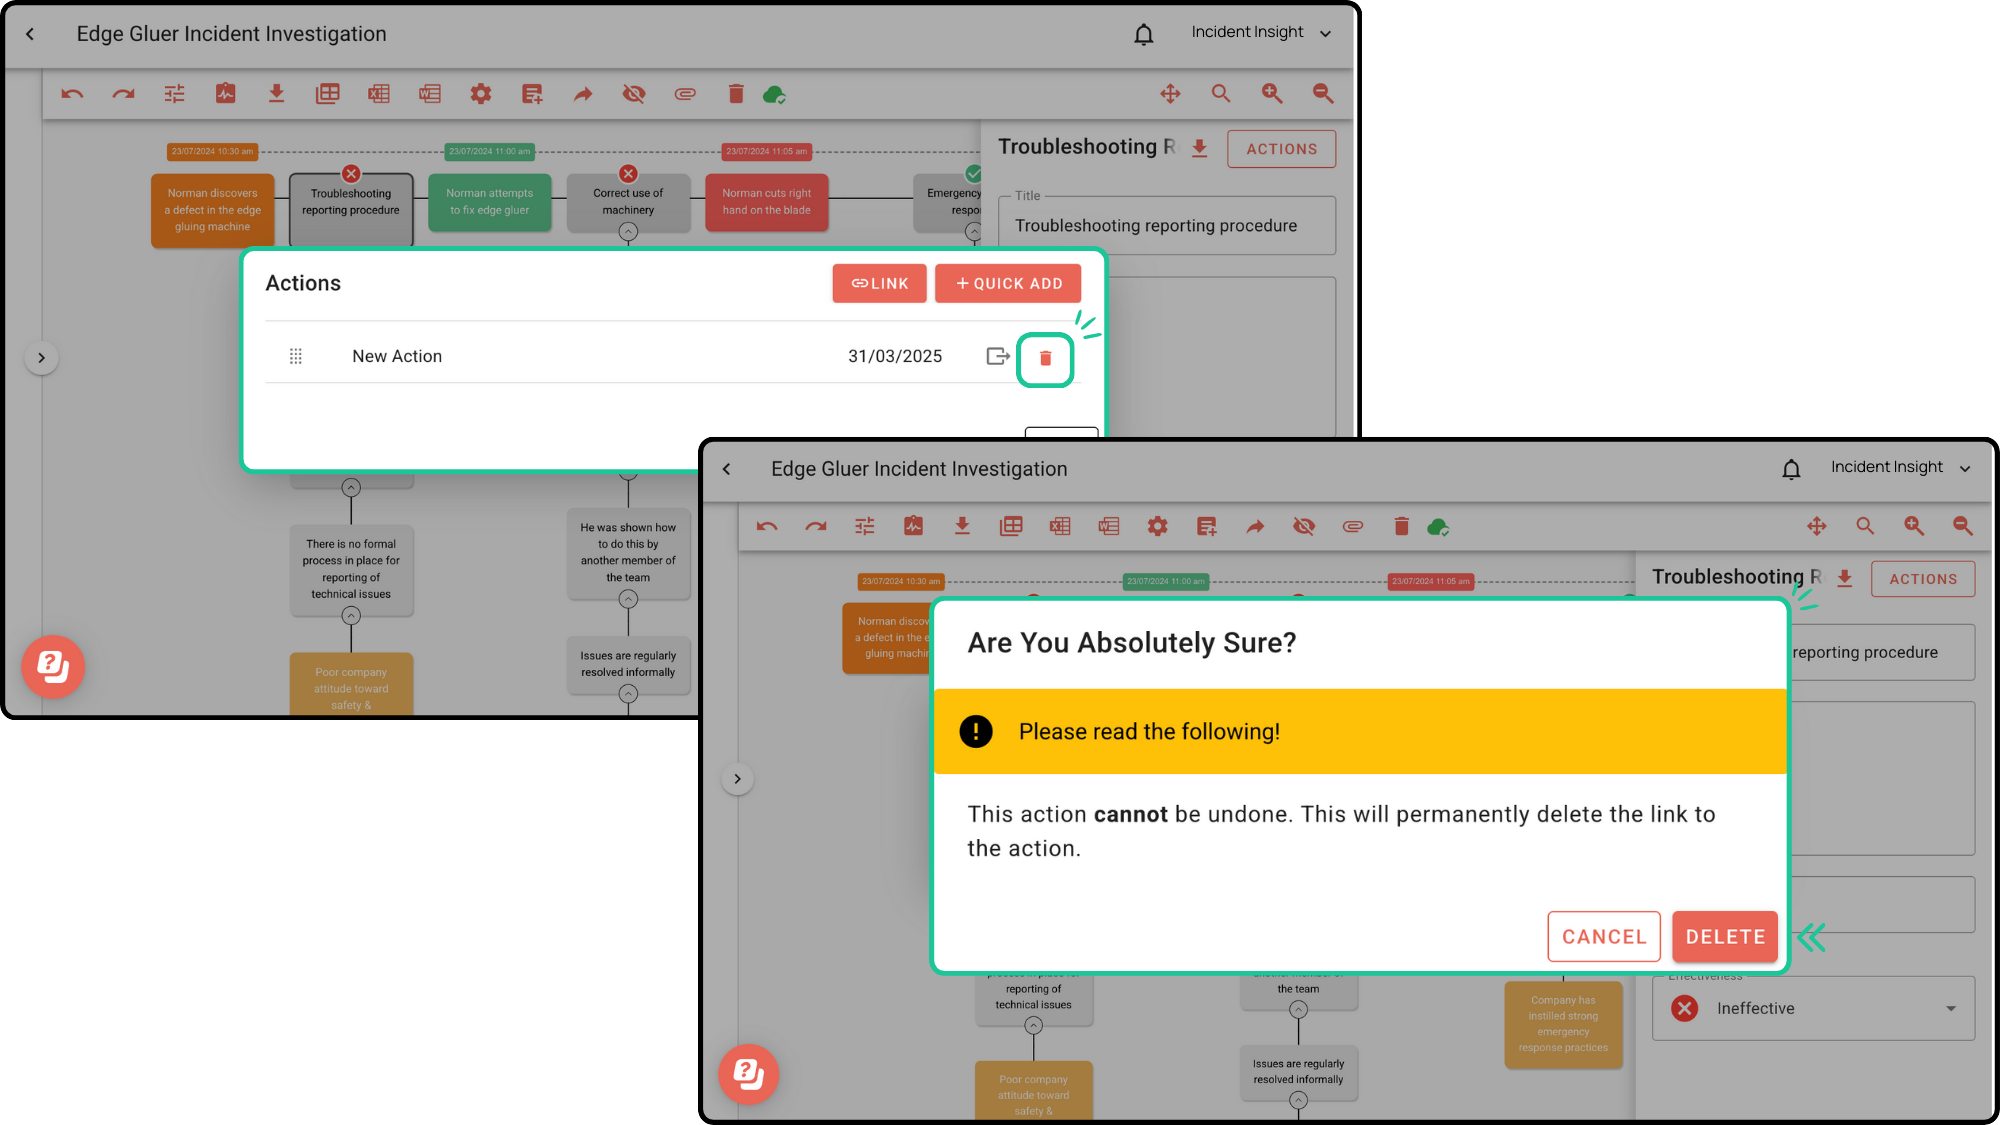
To unlink an action, go to the element where the action is linked. Click on ‘Actions’ in the pop-up. Click the ‘Bin’ icon on the action you wish to unlink. In the confirmation pop-up, click ‘Delete’.