Create and manage multiple versions of your incident investigation diagram with Version Control. In this guide, we’ll show you how to create drafts, publish a diagram, and manage version history.
Publish a diagram
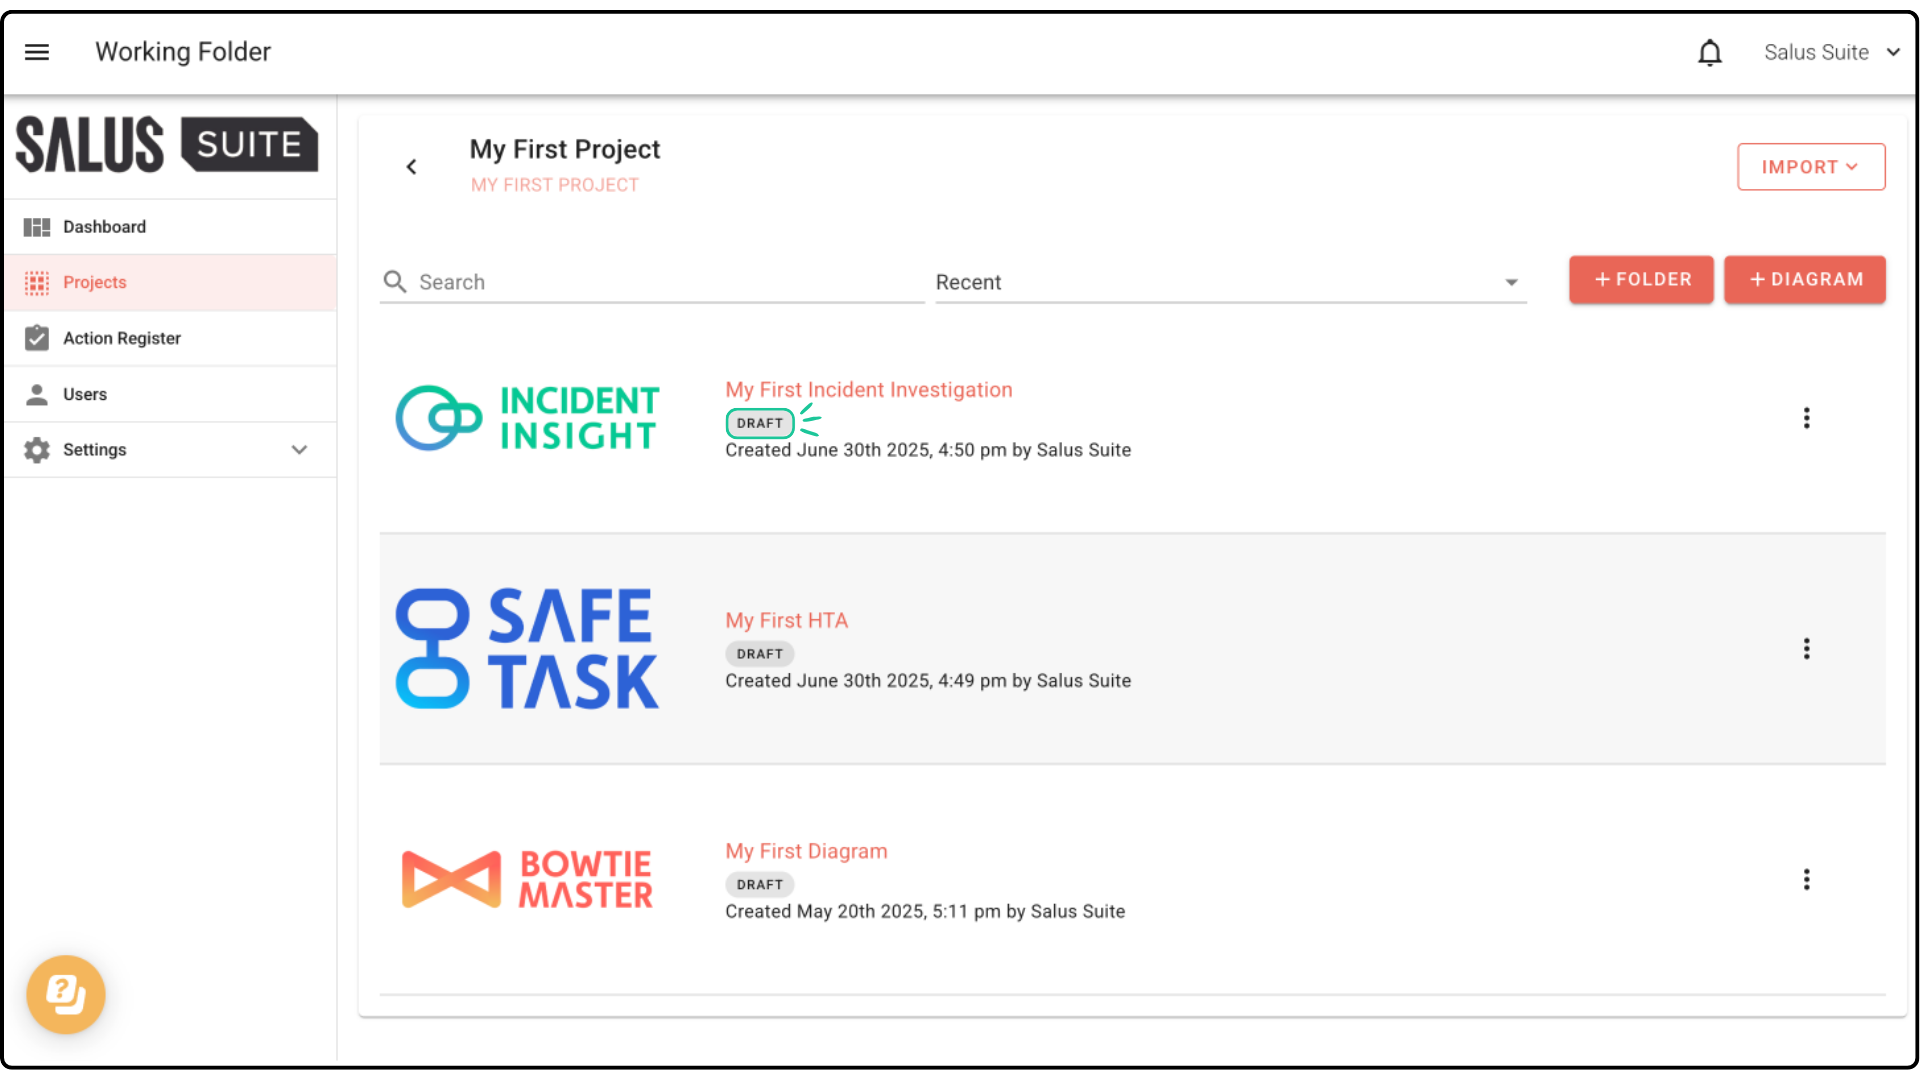
Note: When you create a new diagram, it starts as a Draft.
Step 1: In your diagram editor toolbar, click Publish. 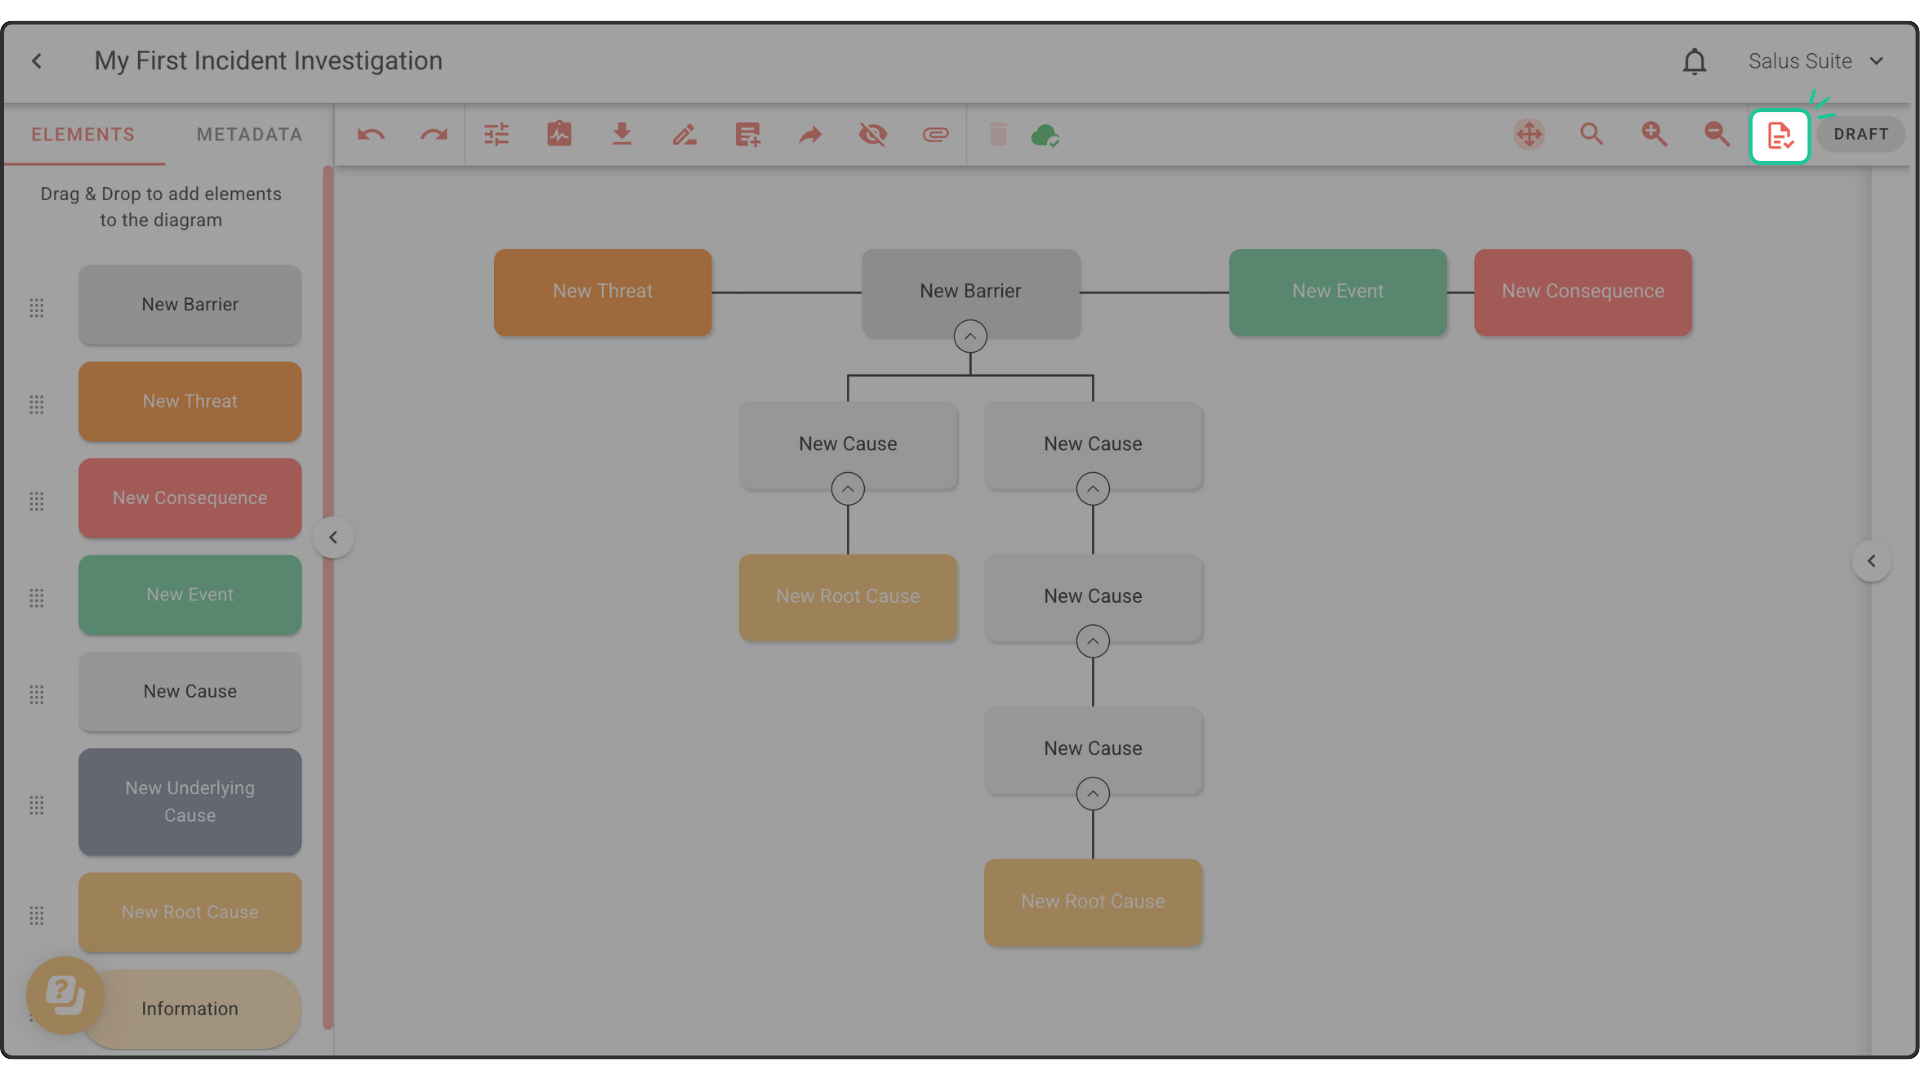
Step 2: Enter a Version Name for your diagram and include notes if there are any. Click Publish. 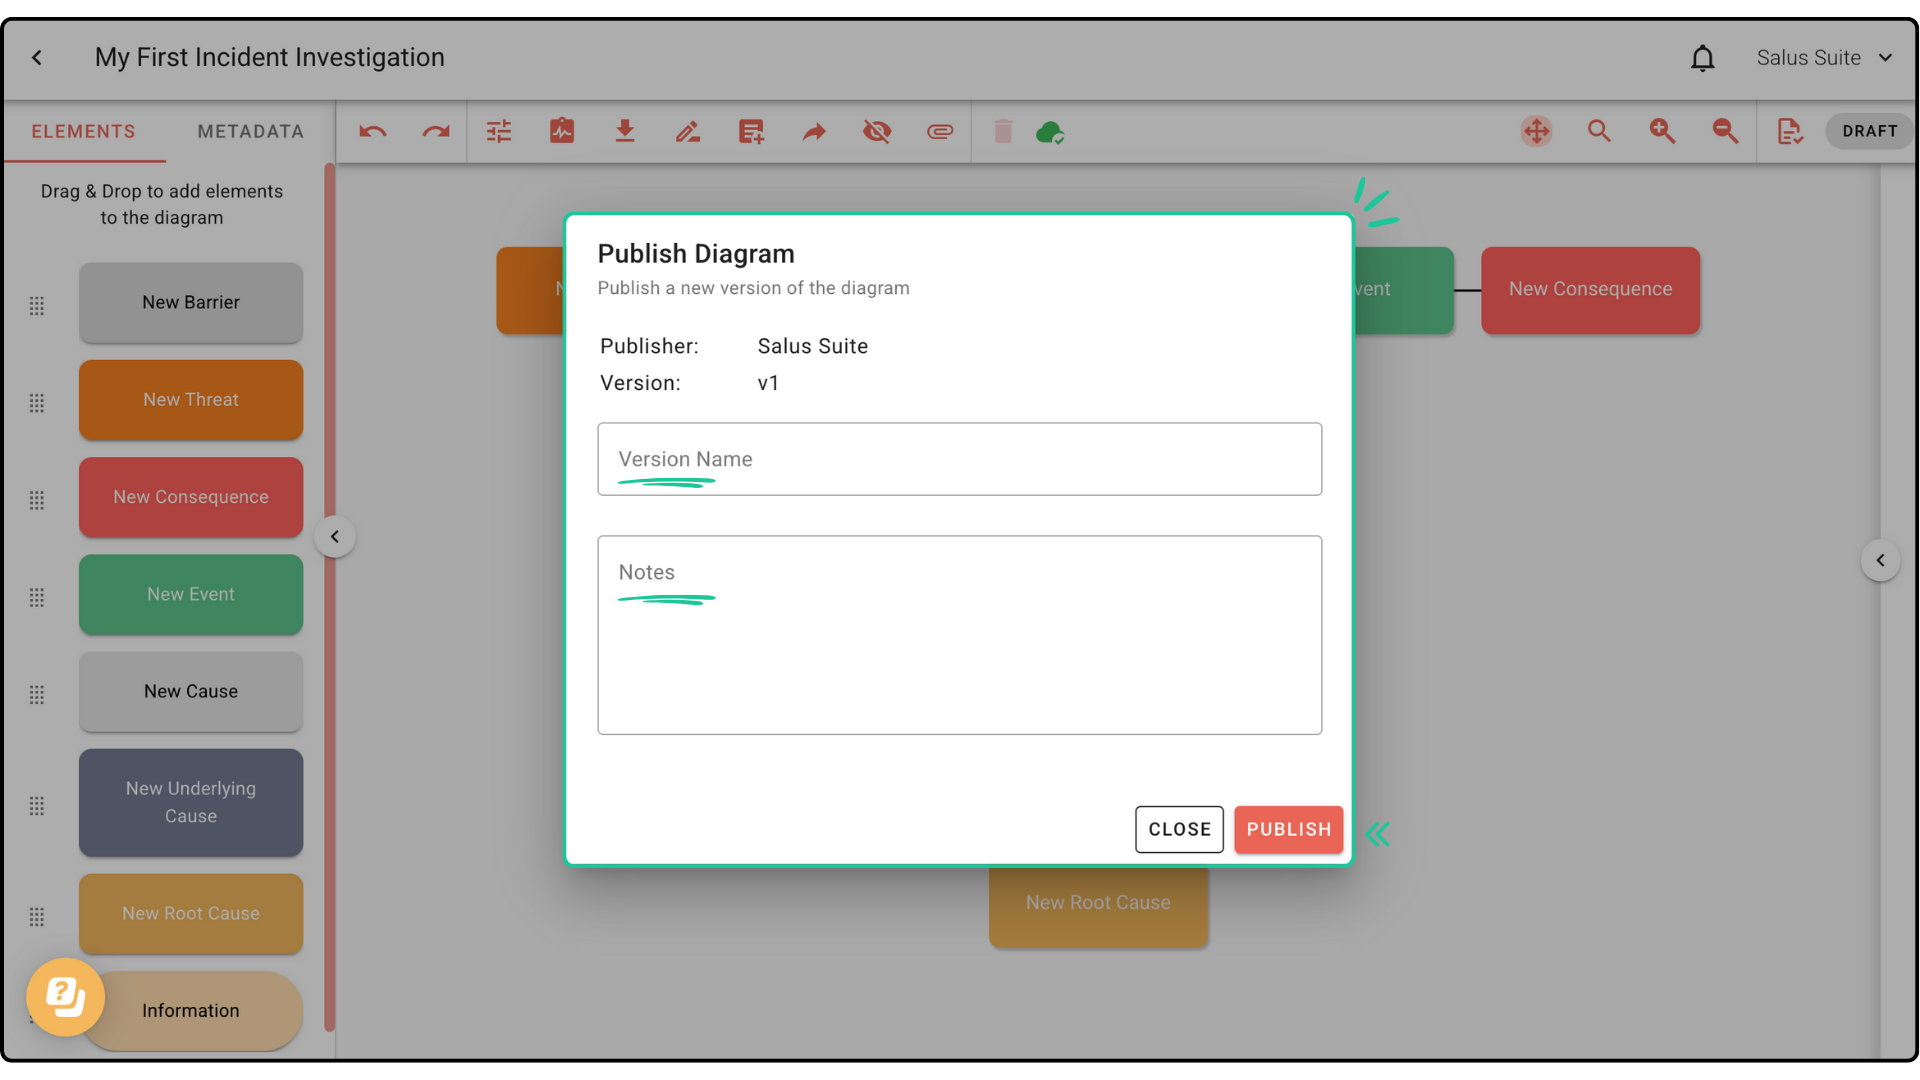
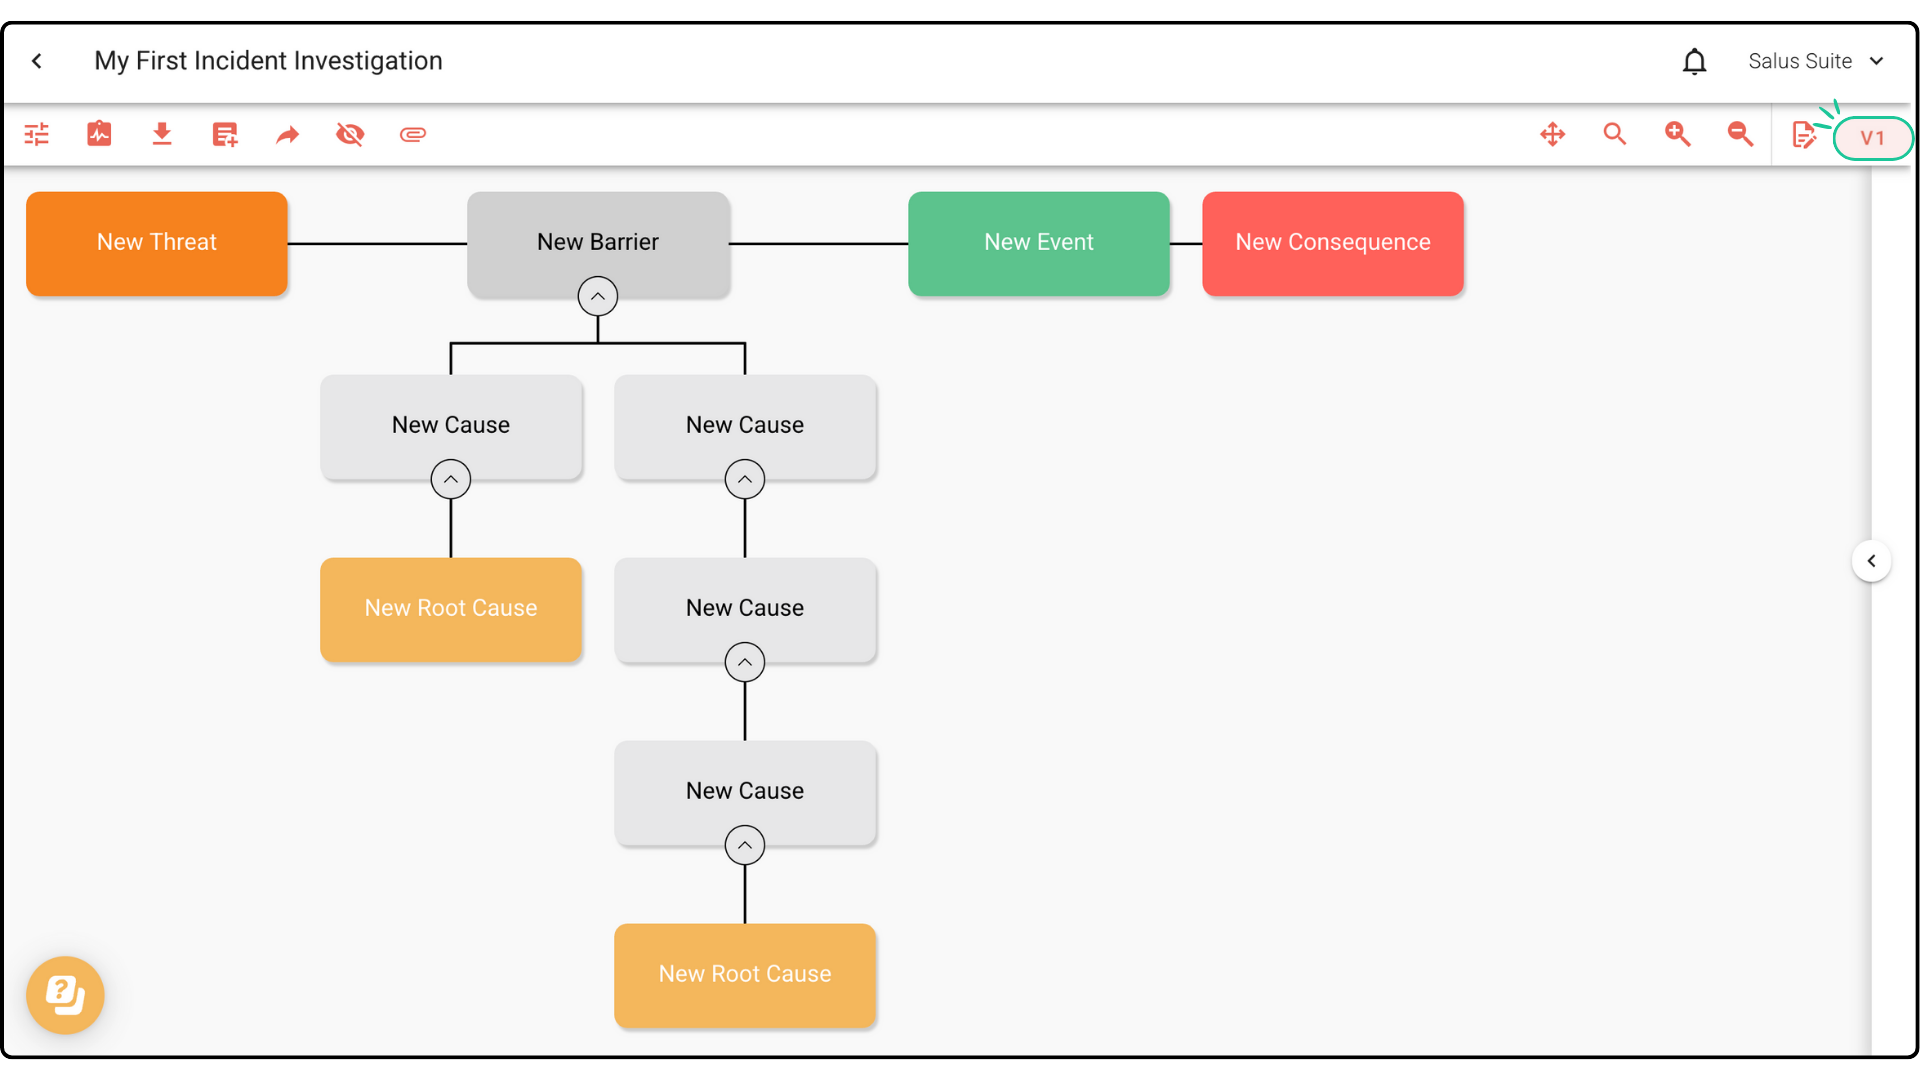
Once published, the new version of the diagram will enter View Only mode, meaning you may not make any edits or changes. Here is how a published version looks like:
Edit a published diagram
Step 1: To make changes to a published diagram, click Create Draft. 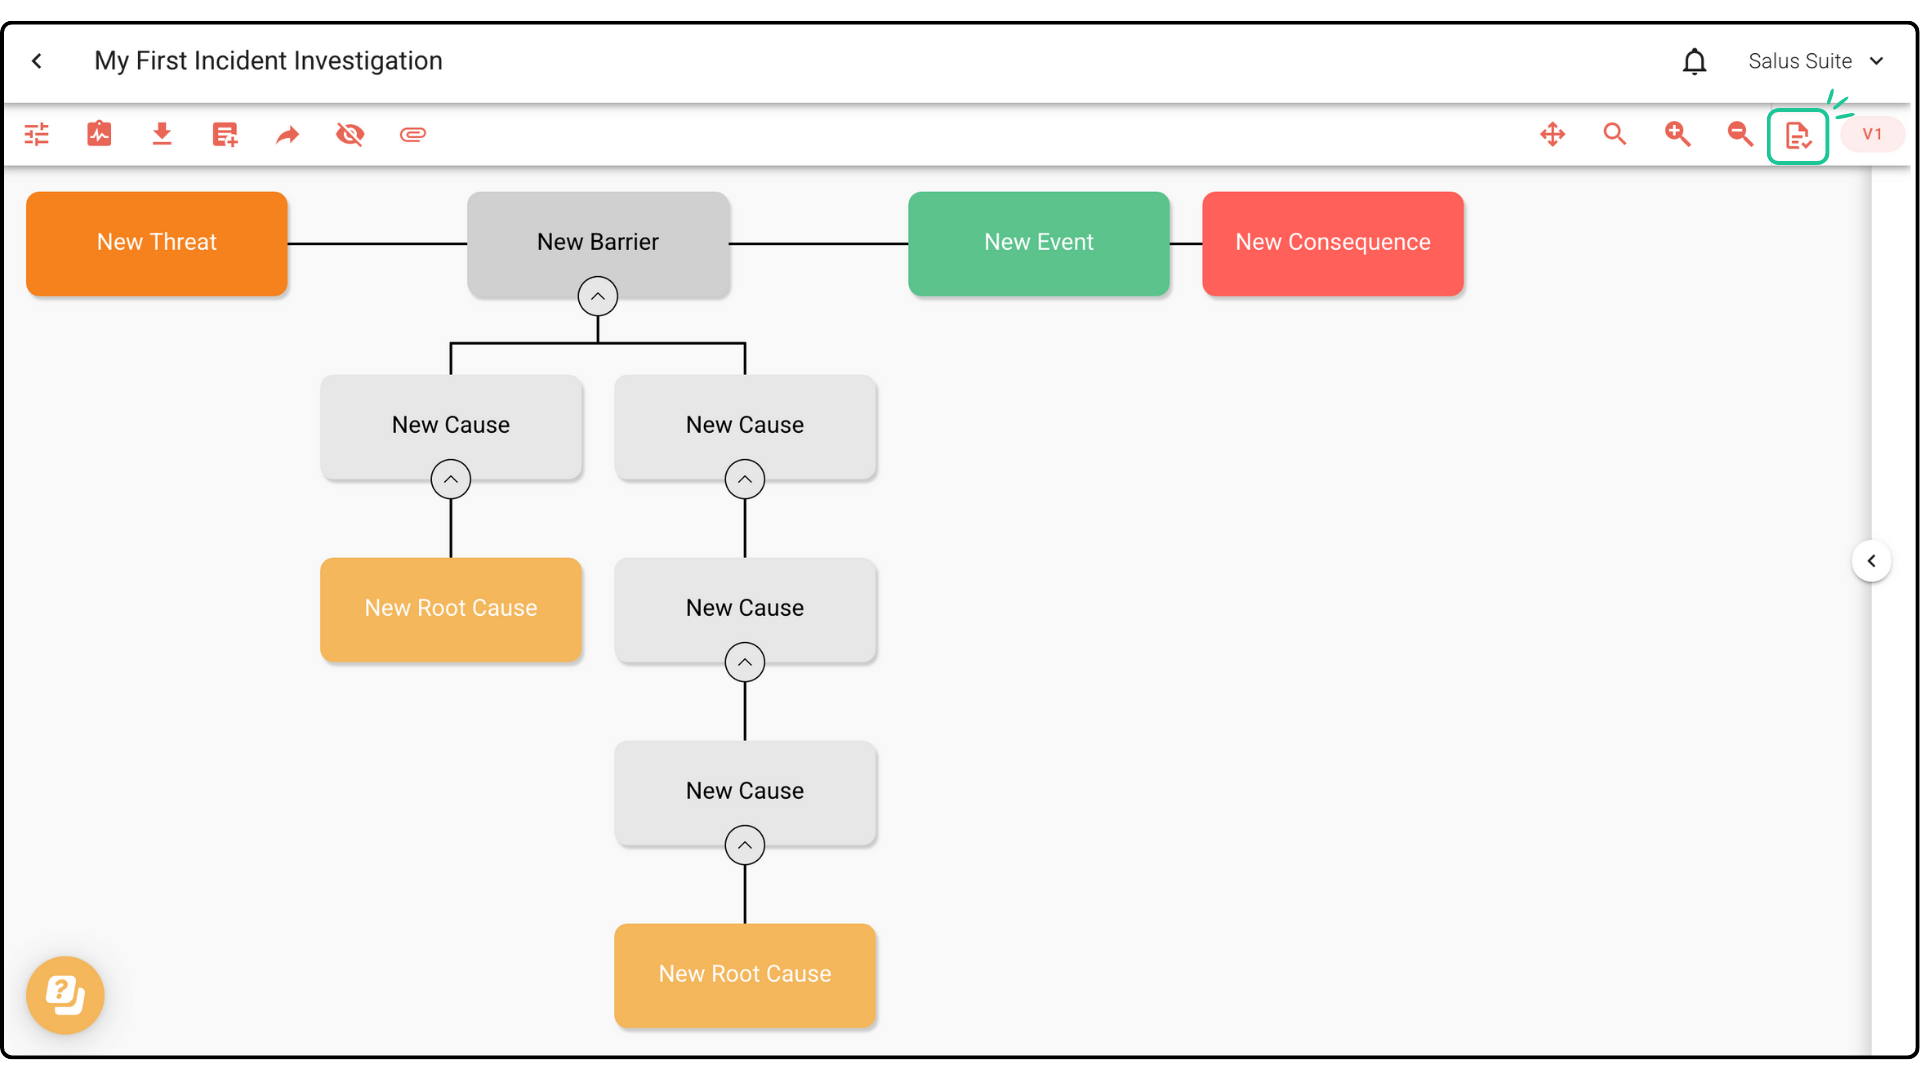
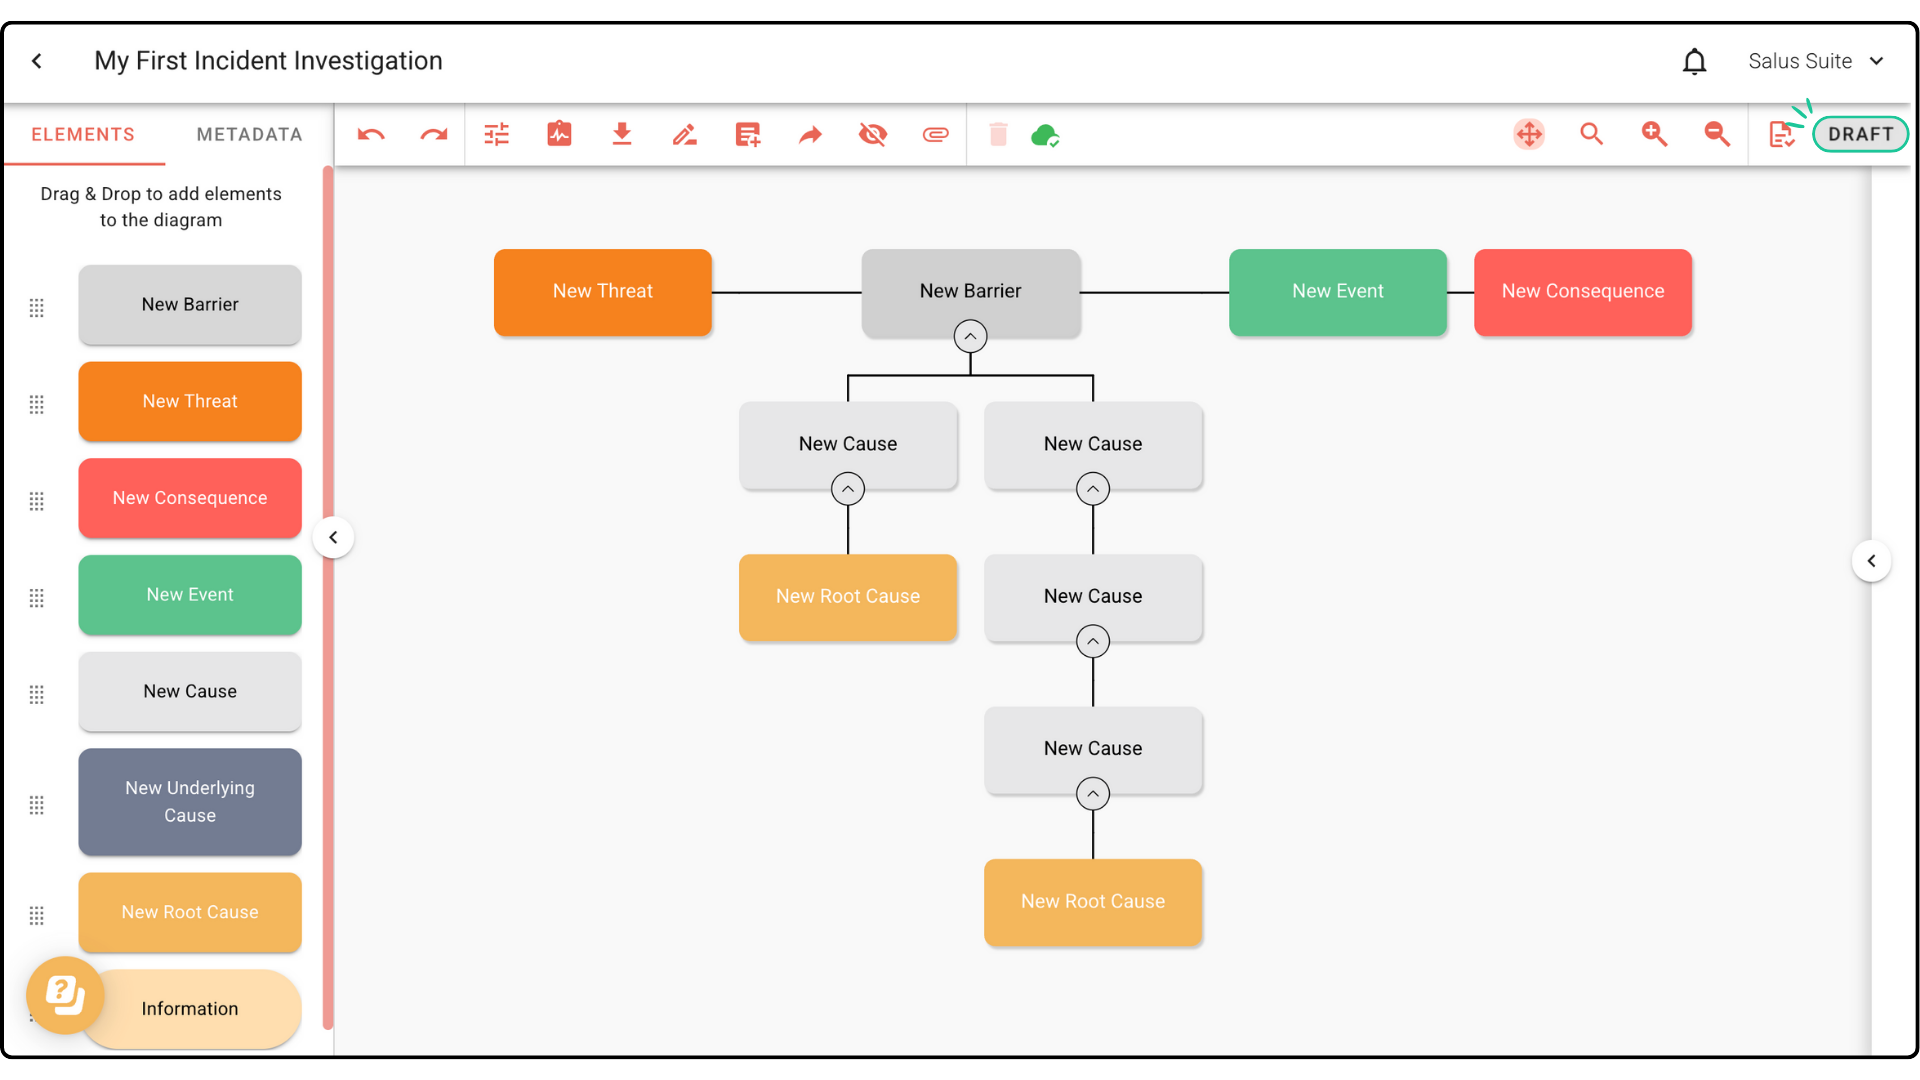
You will enter Draft Mode and be able to make edits to the diagram.
Step 2: To publish it into another version, click Publish and enter a new name. 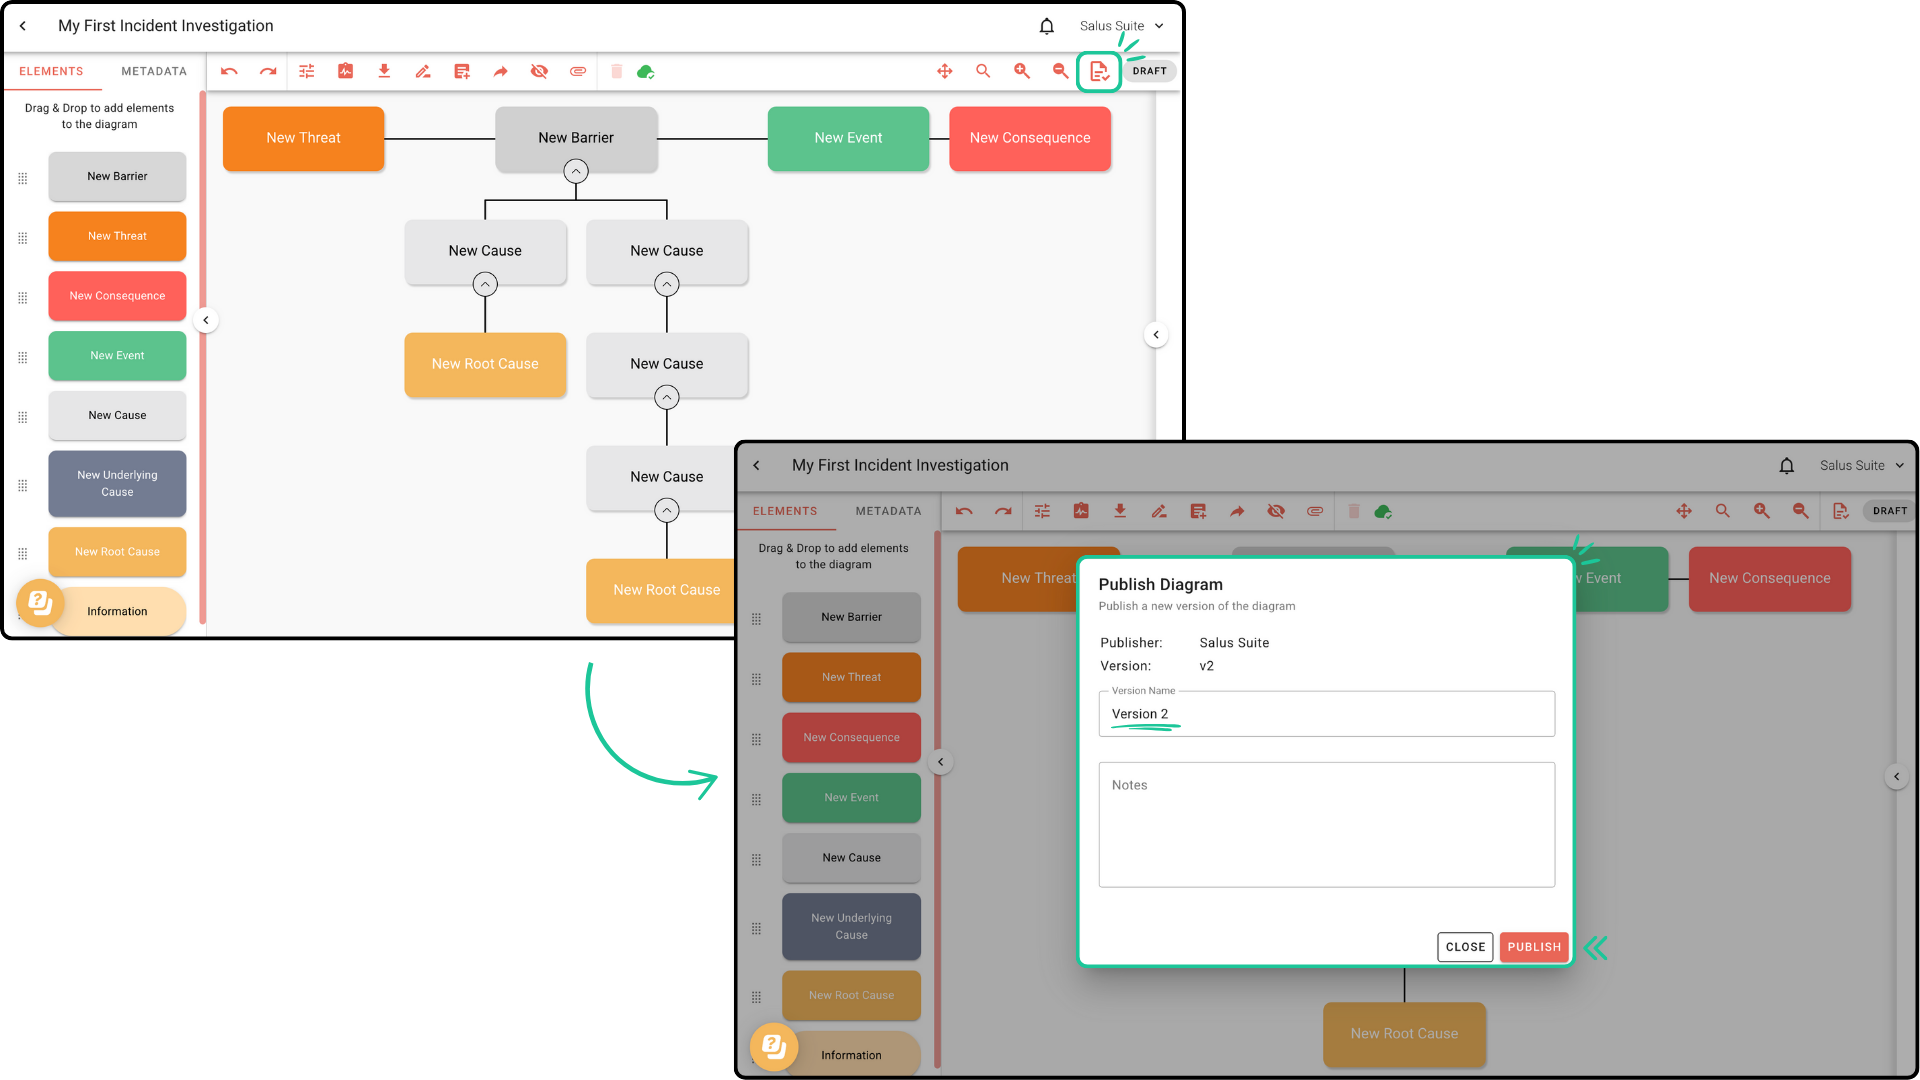
Delete a version
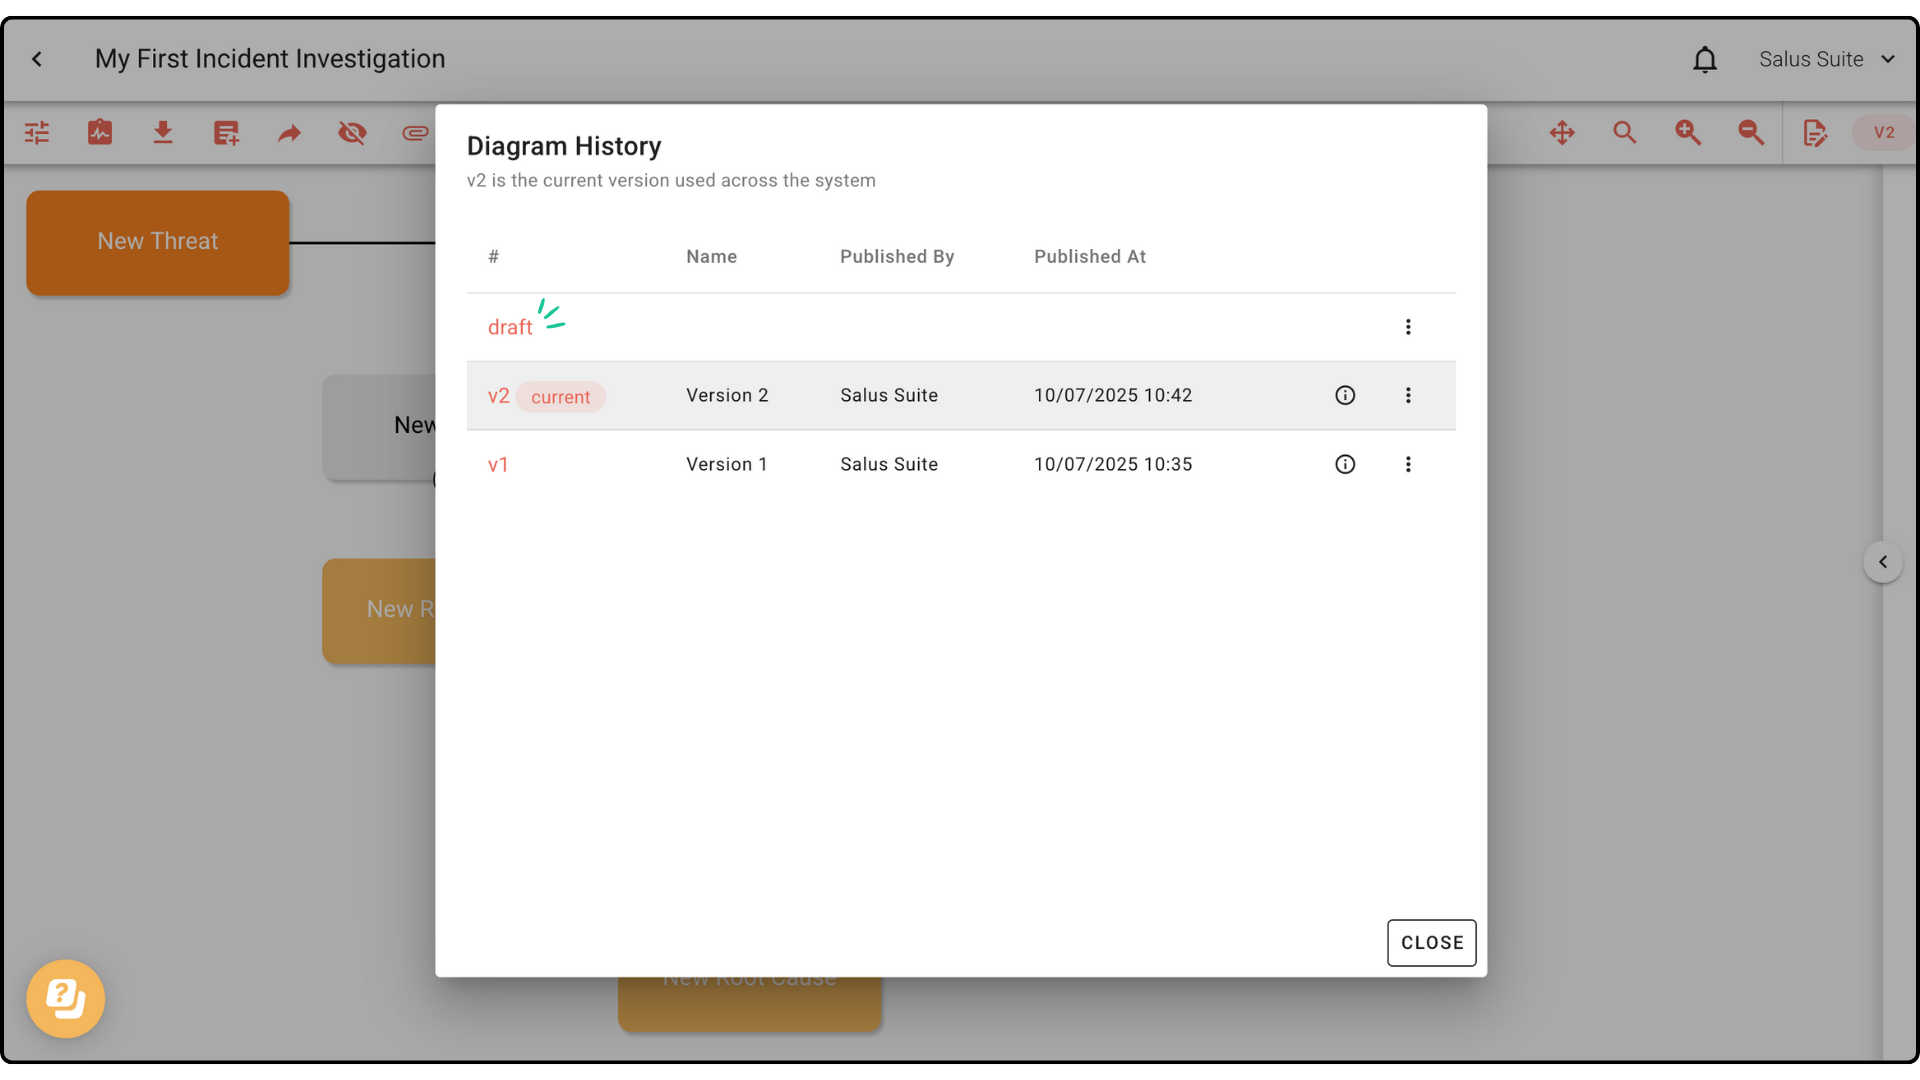
Step 1: In the toolbar, click the Draft or Version button. 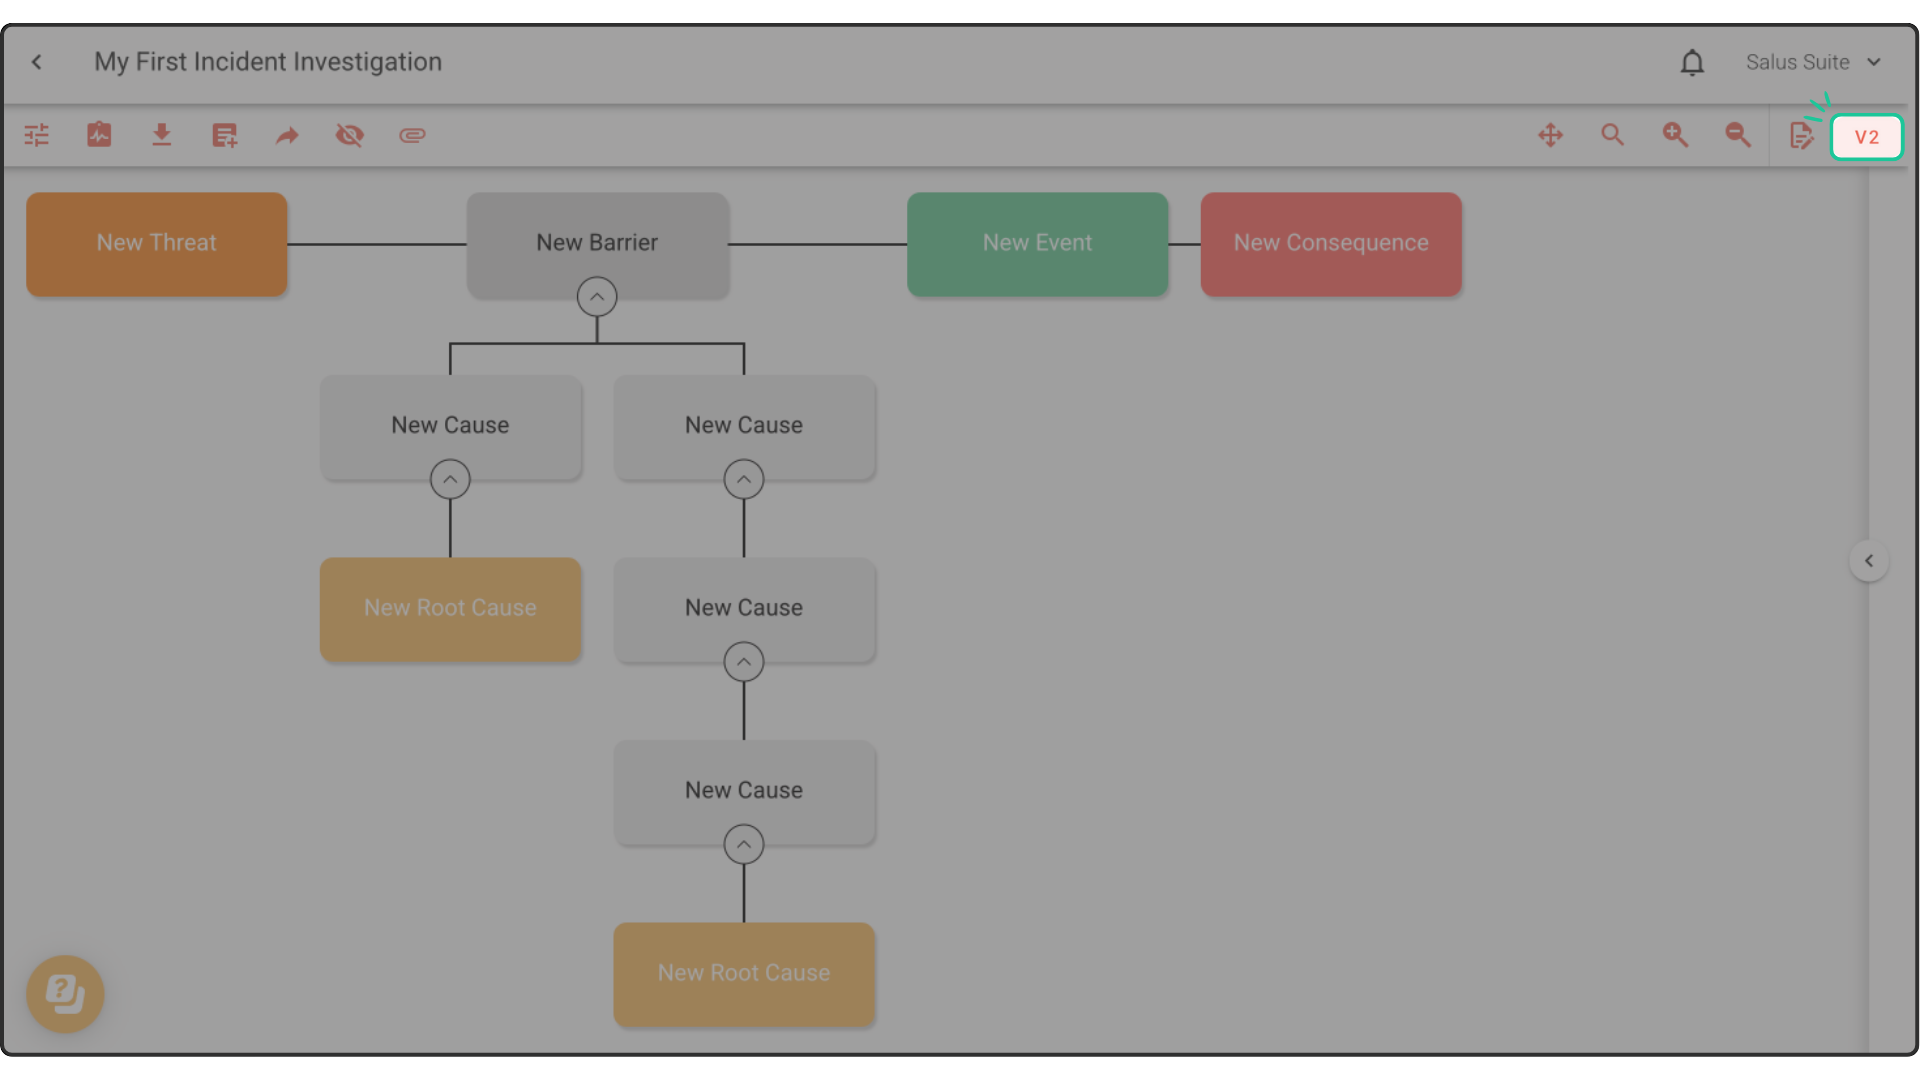
Step 2: In the Version History window, locate the version you wish to delete. Click the ellipses menu and select Delete version. This will automatically delete the version. 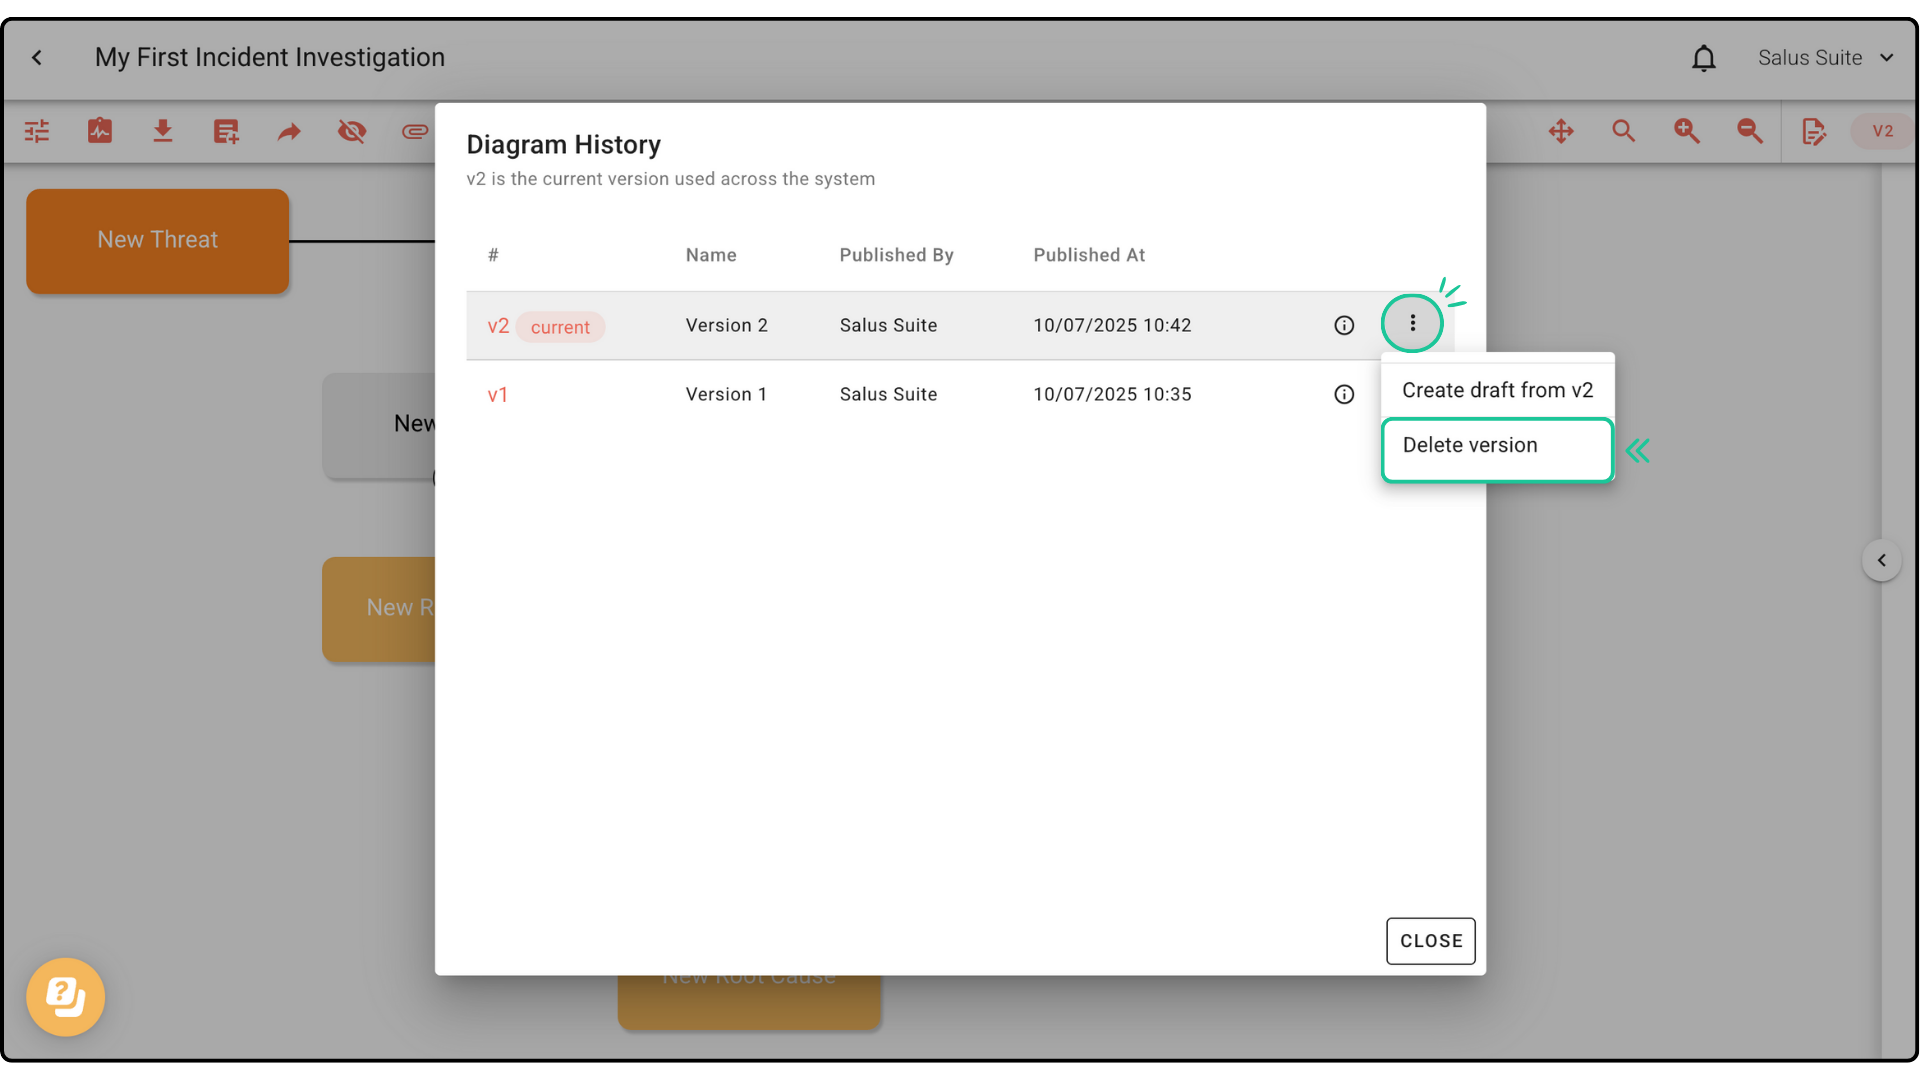
If you are currently viewing the version you’re deleting, you will automatically switch to another available version.
Create a draft from a version
Step 1: Click the Draft or Version button. 
Step 2: In the Version History window, select the ellipses menu of a Version. Click Create draft from v#. 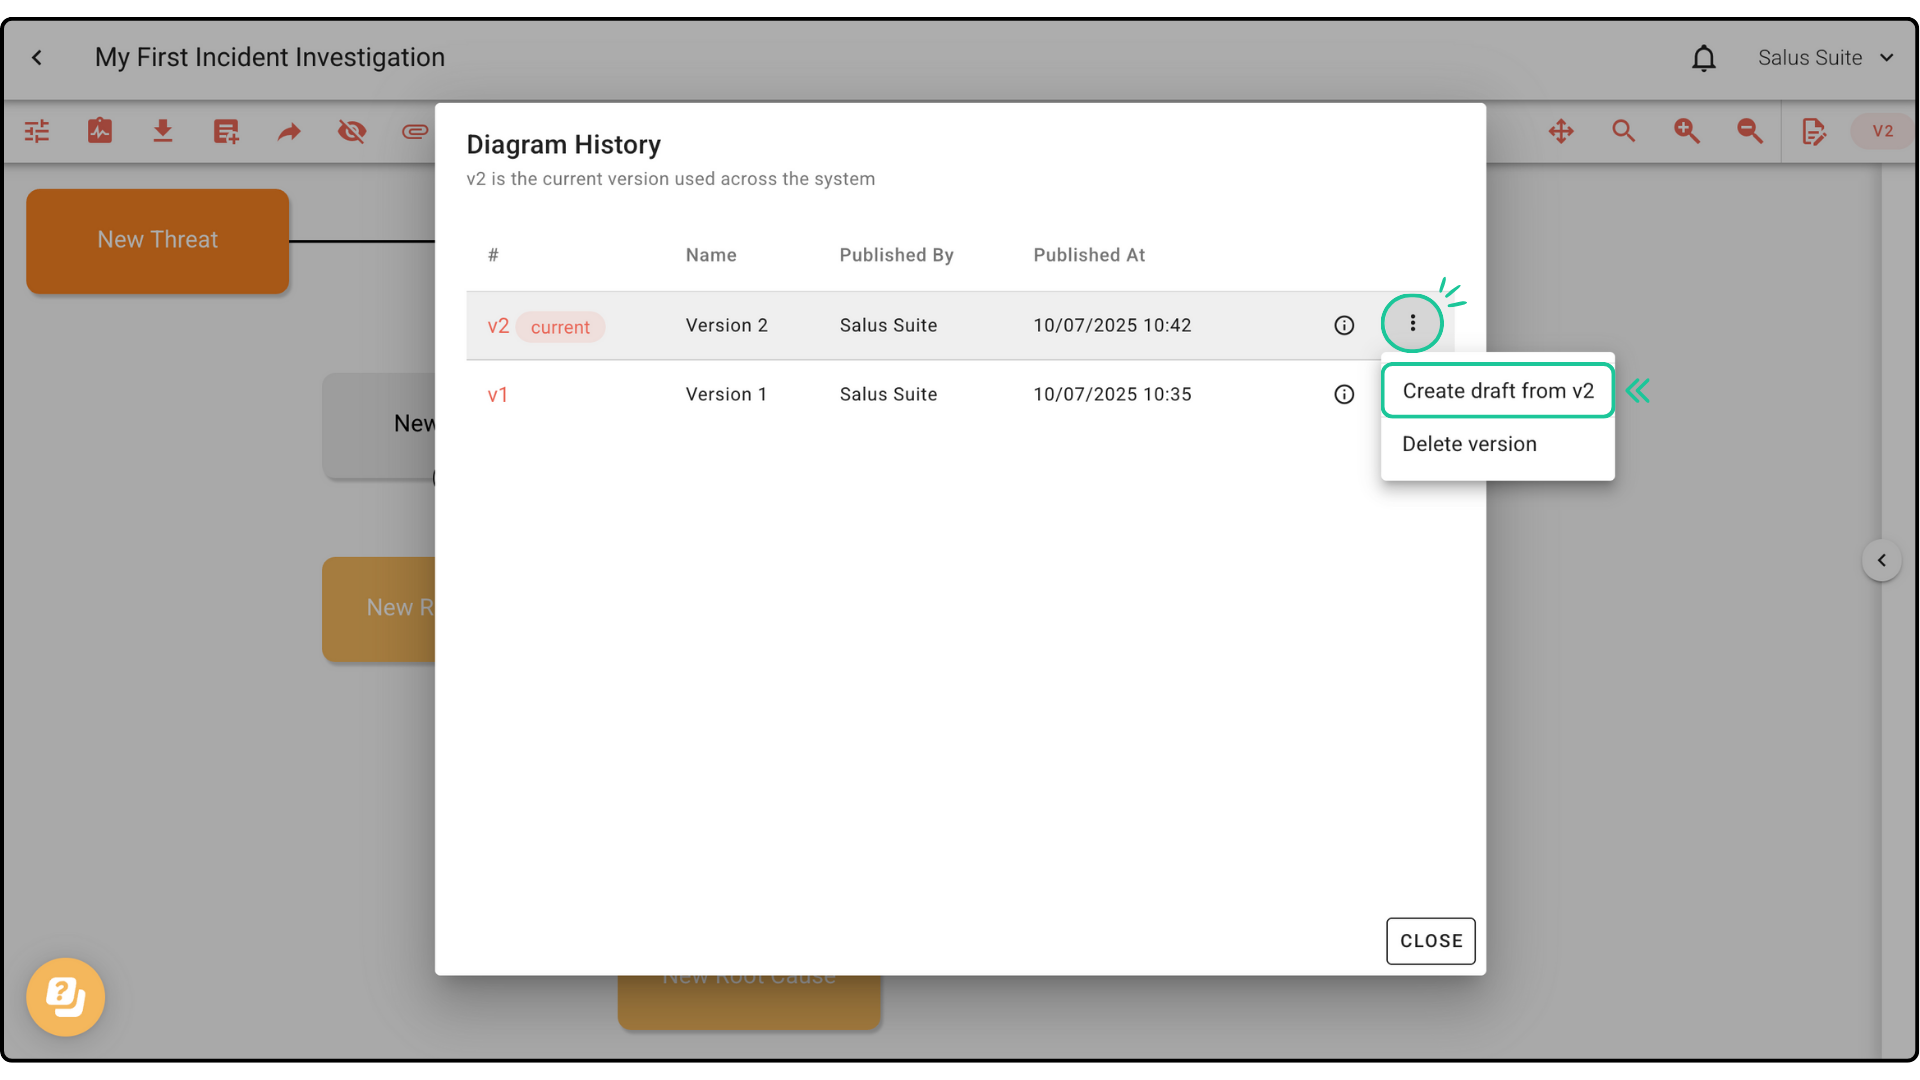
Step 3: A New draft will be created in the Version History window. Click the draft version to begin editing.